

Детекторы артефактов в «Сталкере 2»: подробное руководство
В этом руководстве подробно описаны четыре детектора артефактов в «Сталкер 2: Сердце Чернобыля», объяснены их функции и методы получения. Артефакты значительно улучшают характеристики Скифа, что делает эти детекторы незаменимыми для игрового процесса.
Детектор эха: базовый уровень
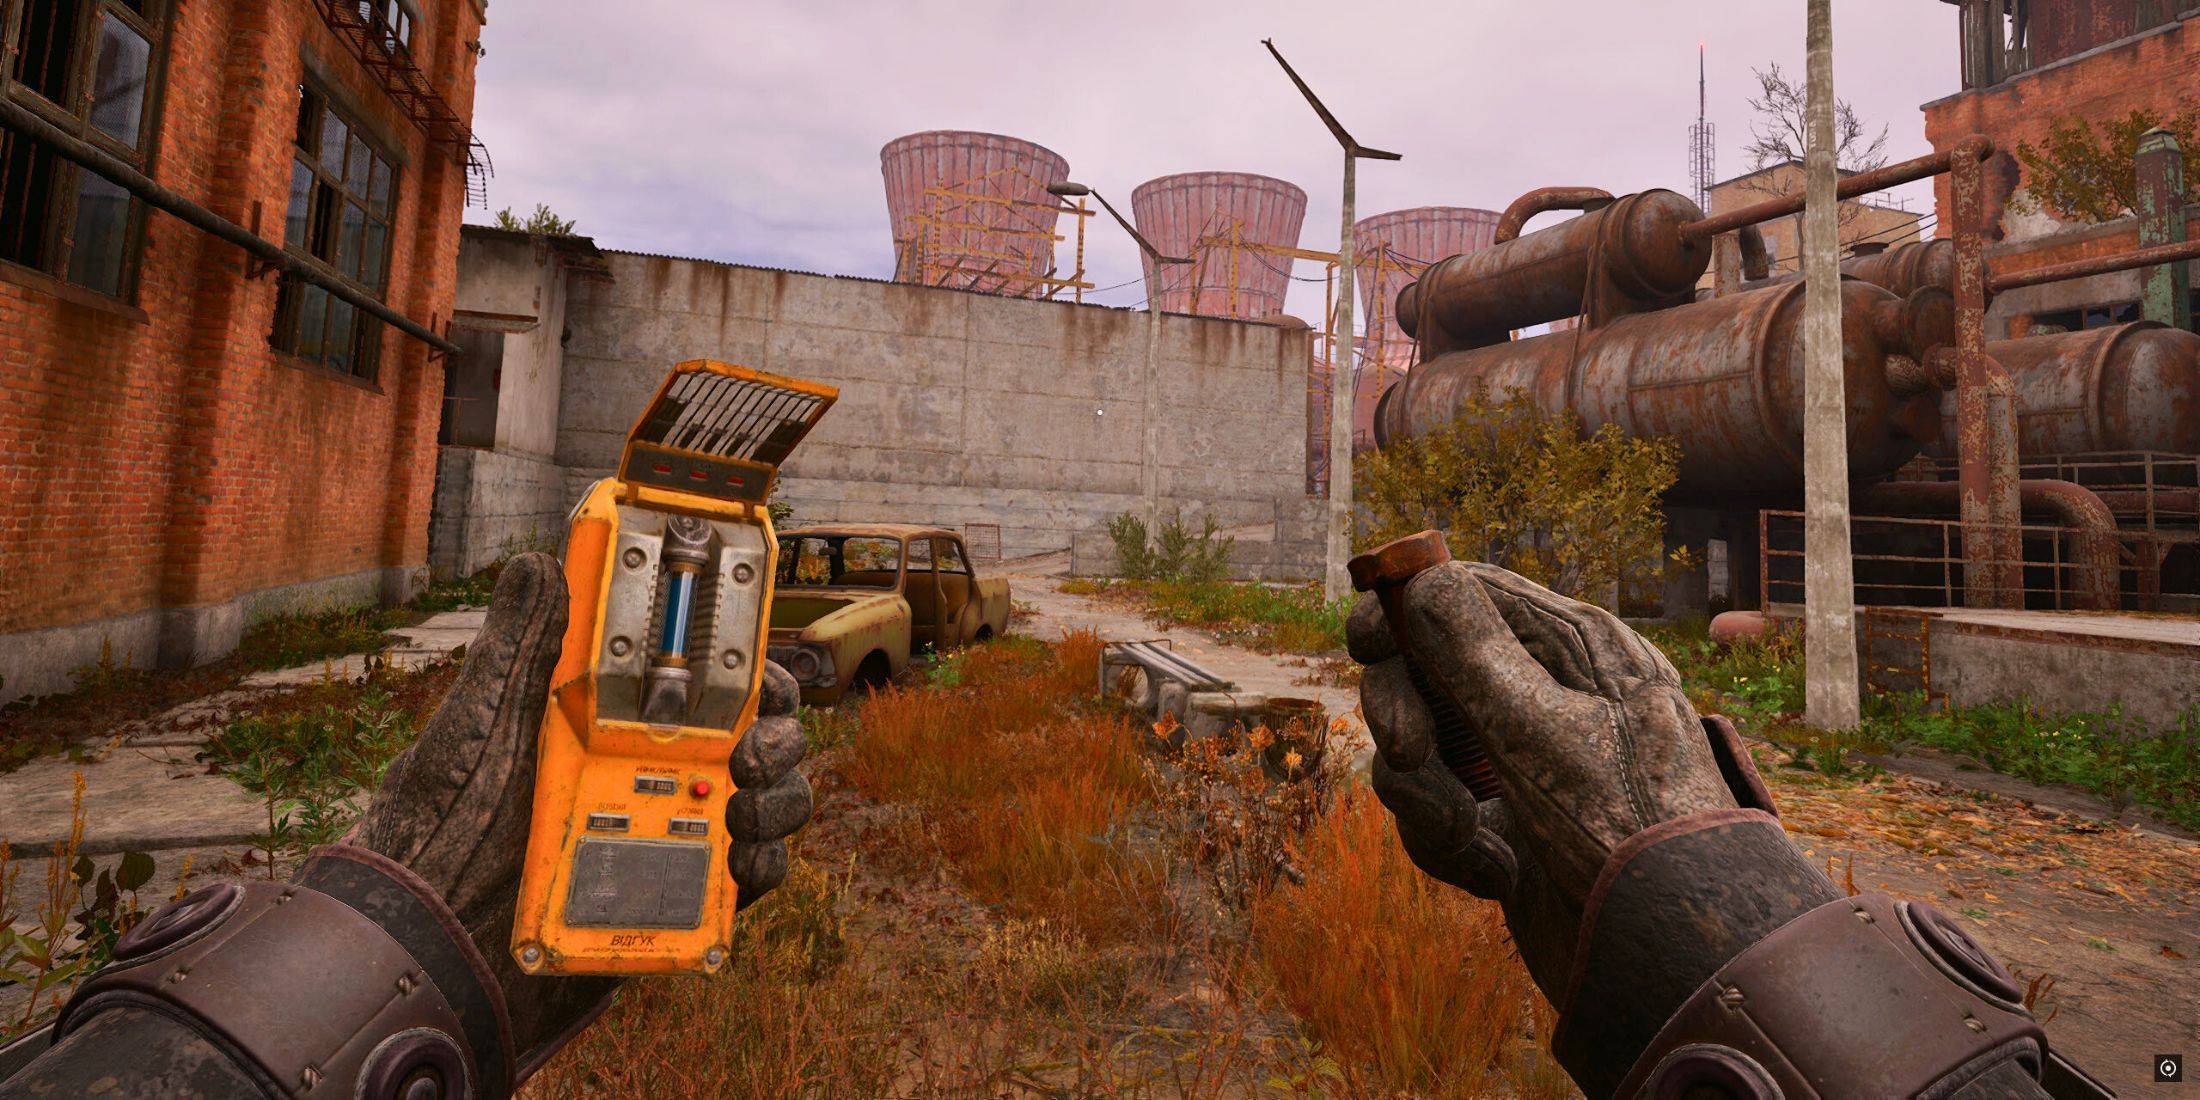 Эхо-детектор — ваше стартовое устройство. Это маленькое желтое устройство оснащено центральной световой трубкой, которая пульсирует, когда артефакт находится поблизости. Интенсивность пульсации и звукового сигнала указывает на близость к артефакту. Несмотря на функциональность, определение точного местоположения артефакта может занять много времени.
Детектор медведей: расширенные возможности
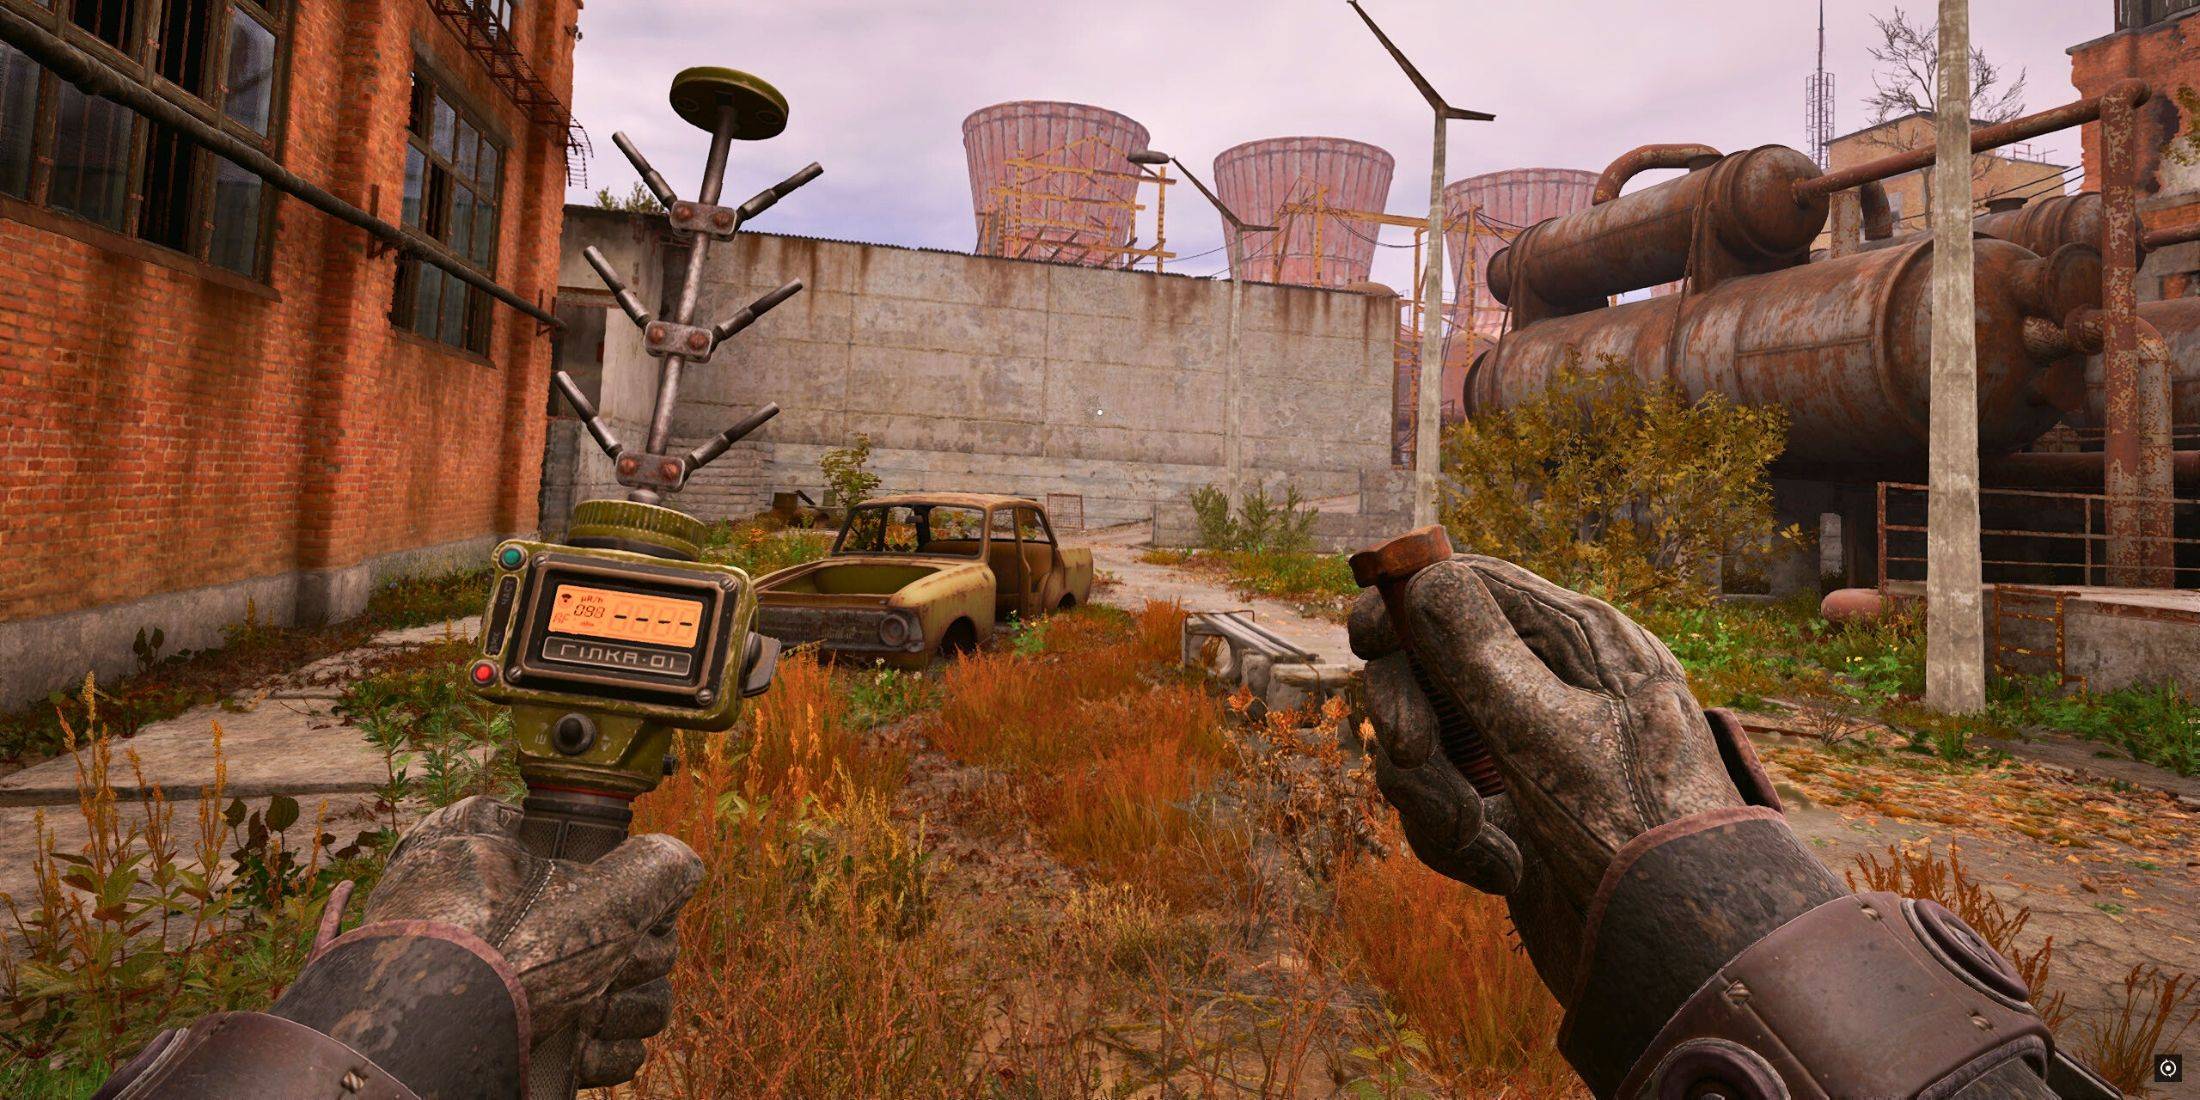
 Детектор медведя можно получить либо во время побочной миссии «Знак надежды», либо у продавца. Детектор медведя является усовершенствованием детектора эха. Он обеспечивает визуальный индикатор расстояния с помощью концентрических колец вокруг дисплея. Кольца постепенно загораются по мере приближения к артефакту и полностью загораются, когда вы находитесь прямо над ним.
Детектор Hilka: точное наведение
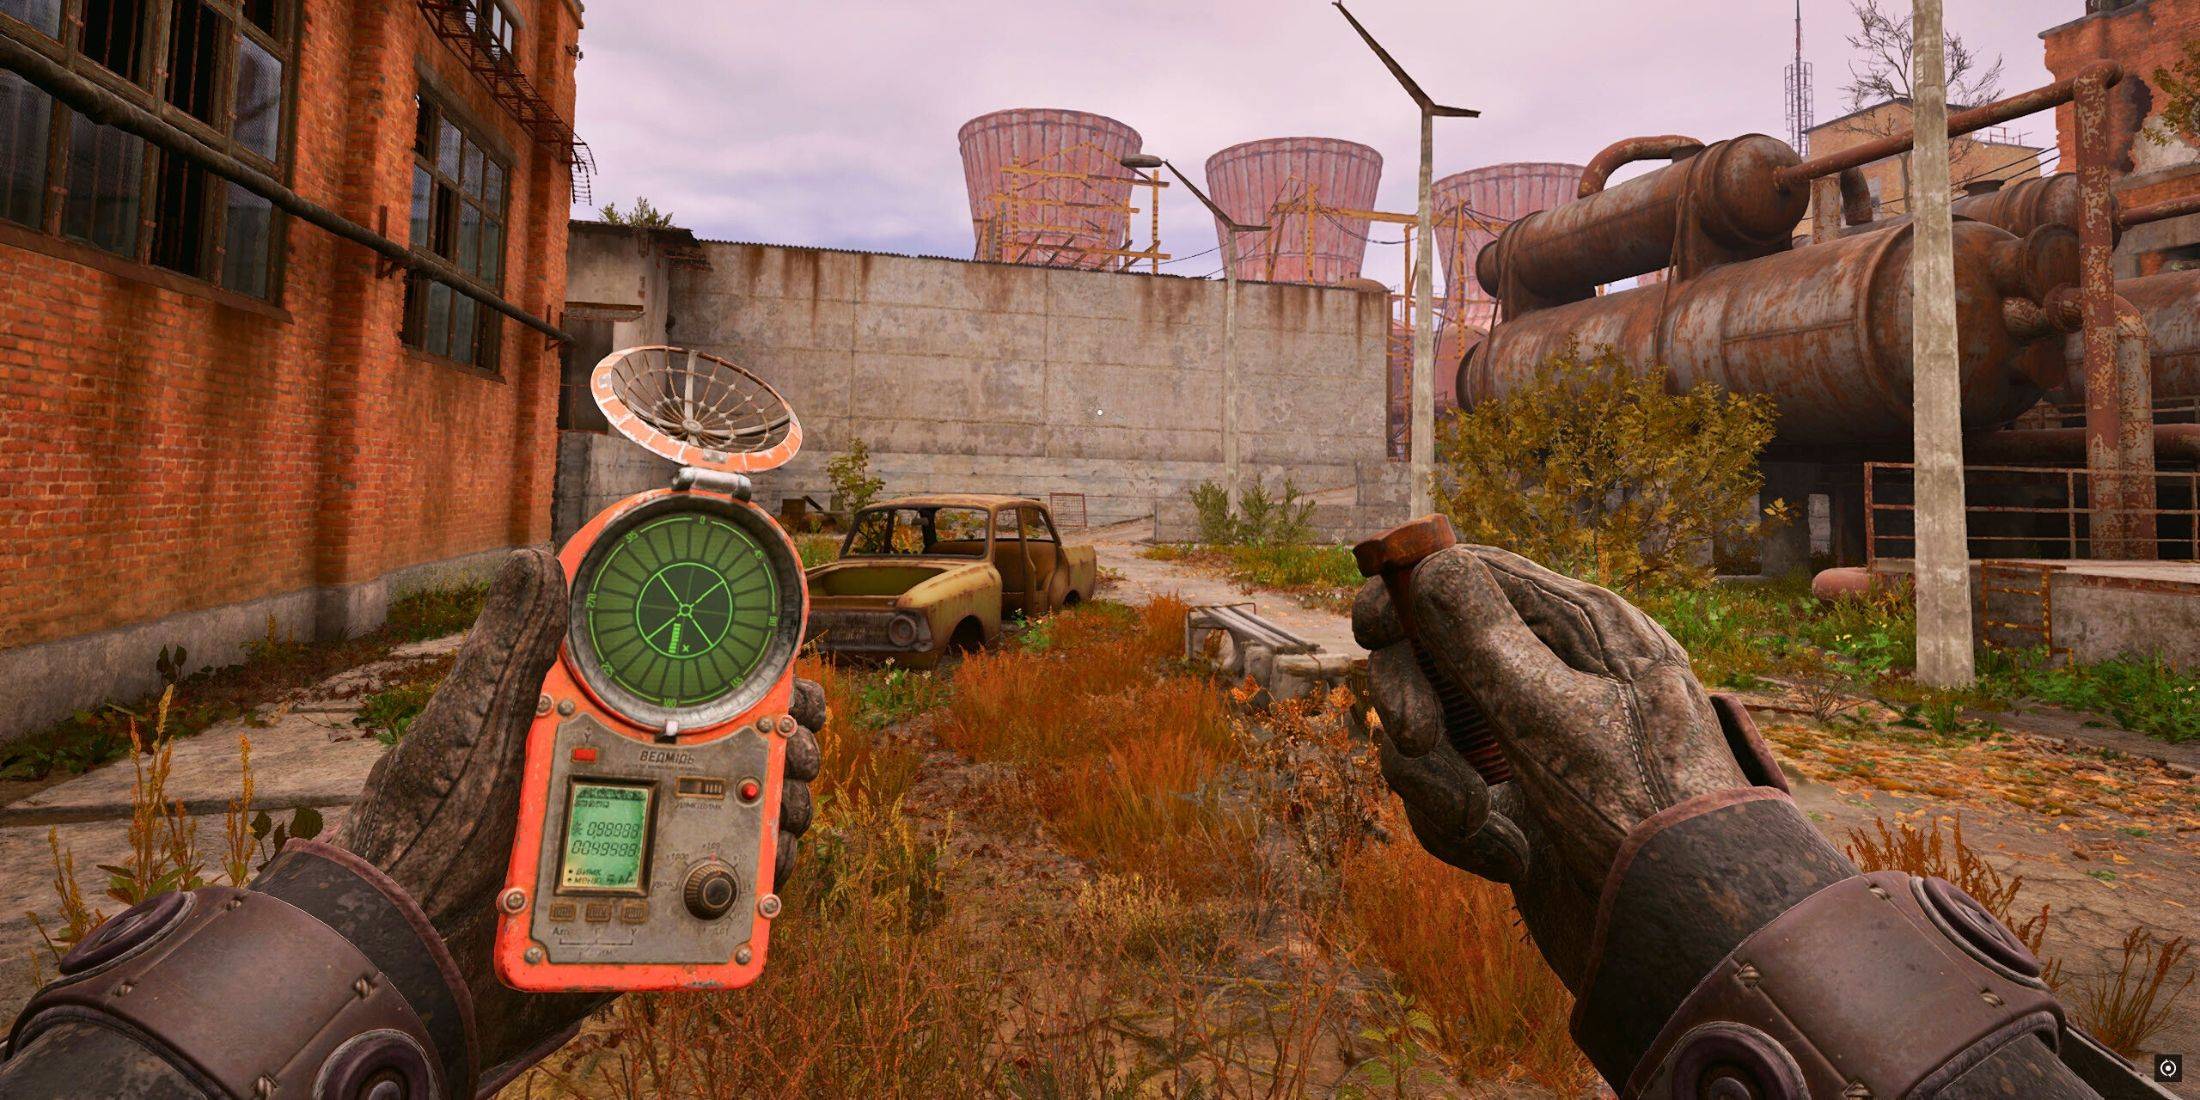
 Детектор Хилка, полученный во время побочной миссии «Таинственное дело» от Султана, предлагает более точный подход. Он отображает числовые значения, обозначающие расположение артефакта в аномальной зоне. Уменьшение числа означает более близкую близость.
Детектор Велес: вершина обнаружения артефактов
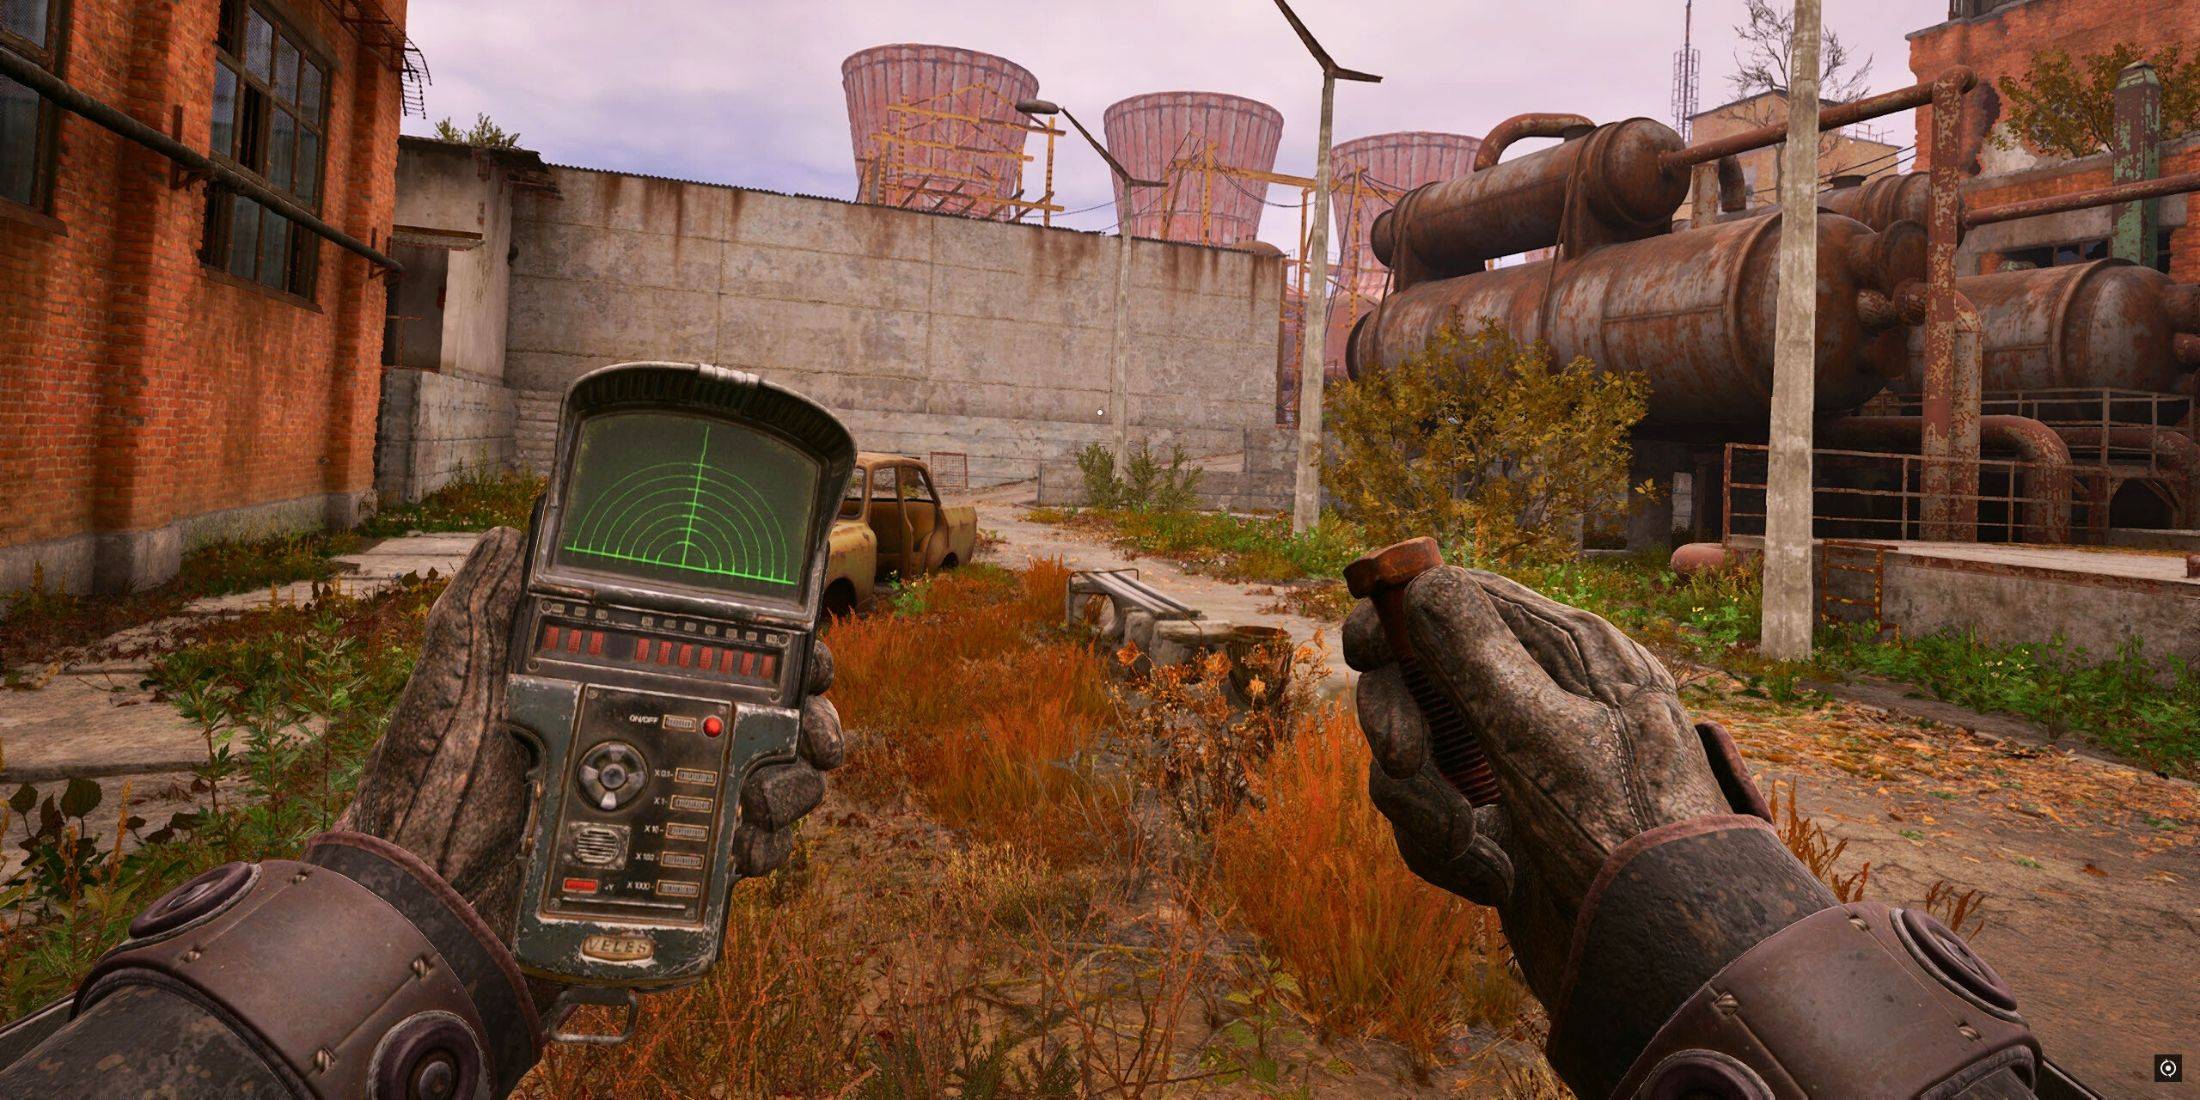 Детектор «Велес», выдаваемый за выполнение основной миссии «В поисках былой славы», является самым совершенным детектором. Его радарный дисплей определяет точное положение артефакта в аномальном поле, а также выделяет опасные аномалии поблизости, повышая безопасность игрока.
 Последние загрузки
 Downlaod




 Главные новости




![A Father’s Sins – Going to Hell [Ch. 7 Public] By Pixieblink](https://imgs.jzvvv.com/uploads/67/1719578270667eae9eb6a75.jpg)