
Дом > Новости > NieR Automata — как разблокировать и использовать выбор главы

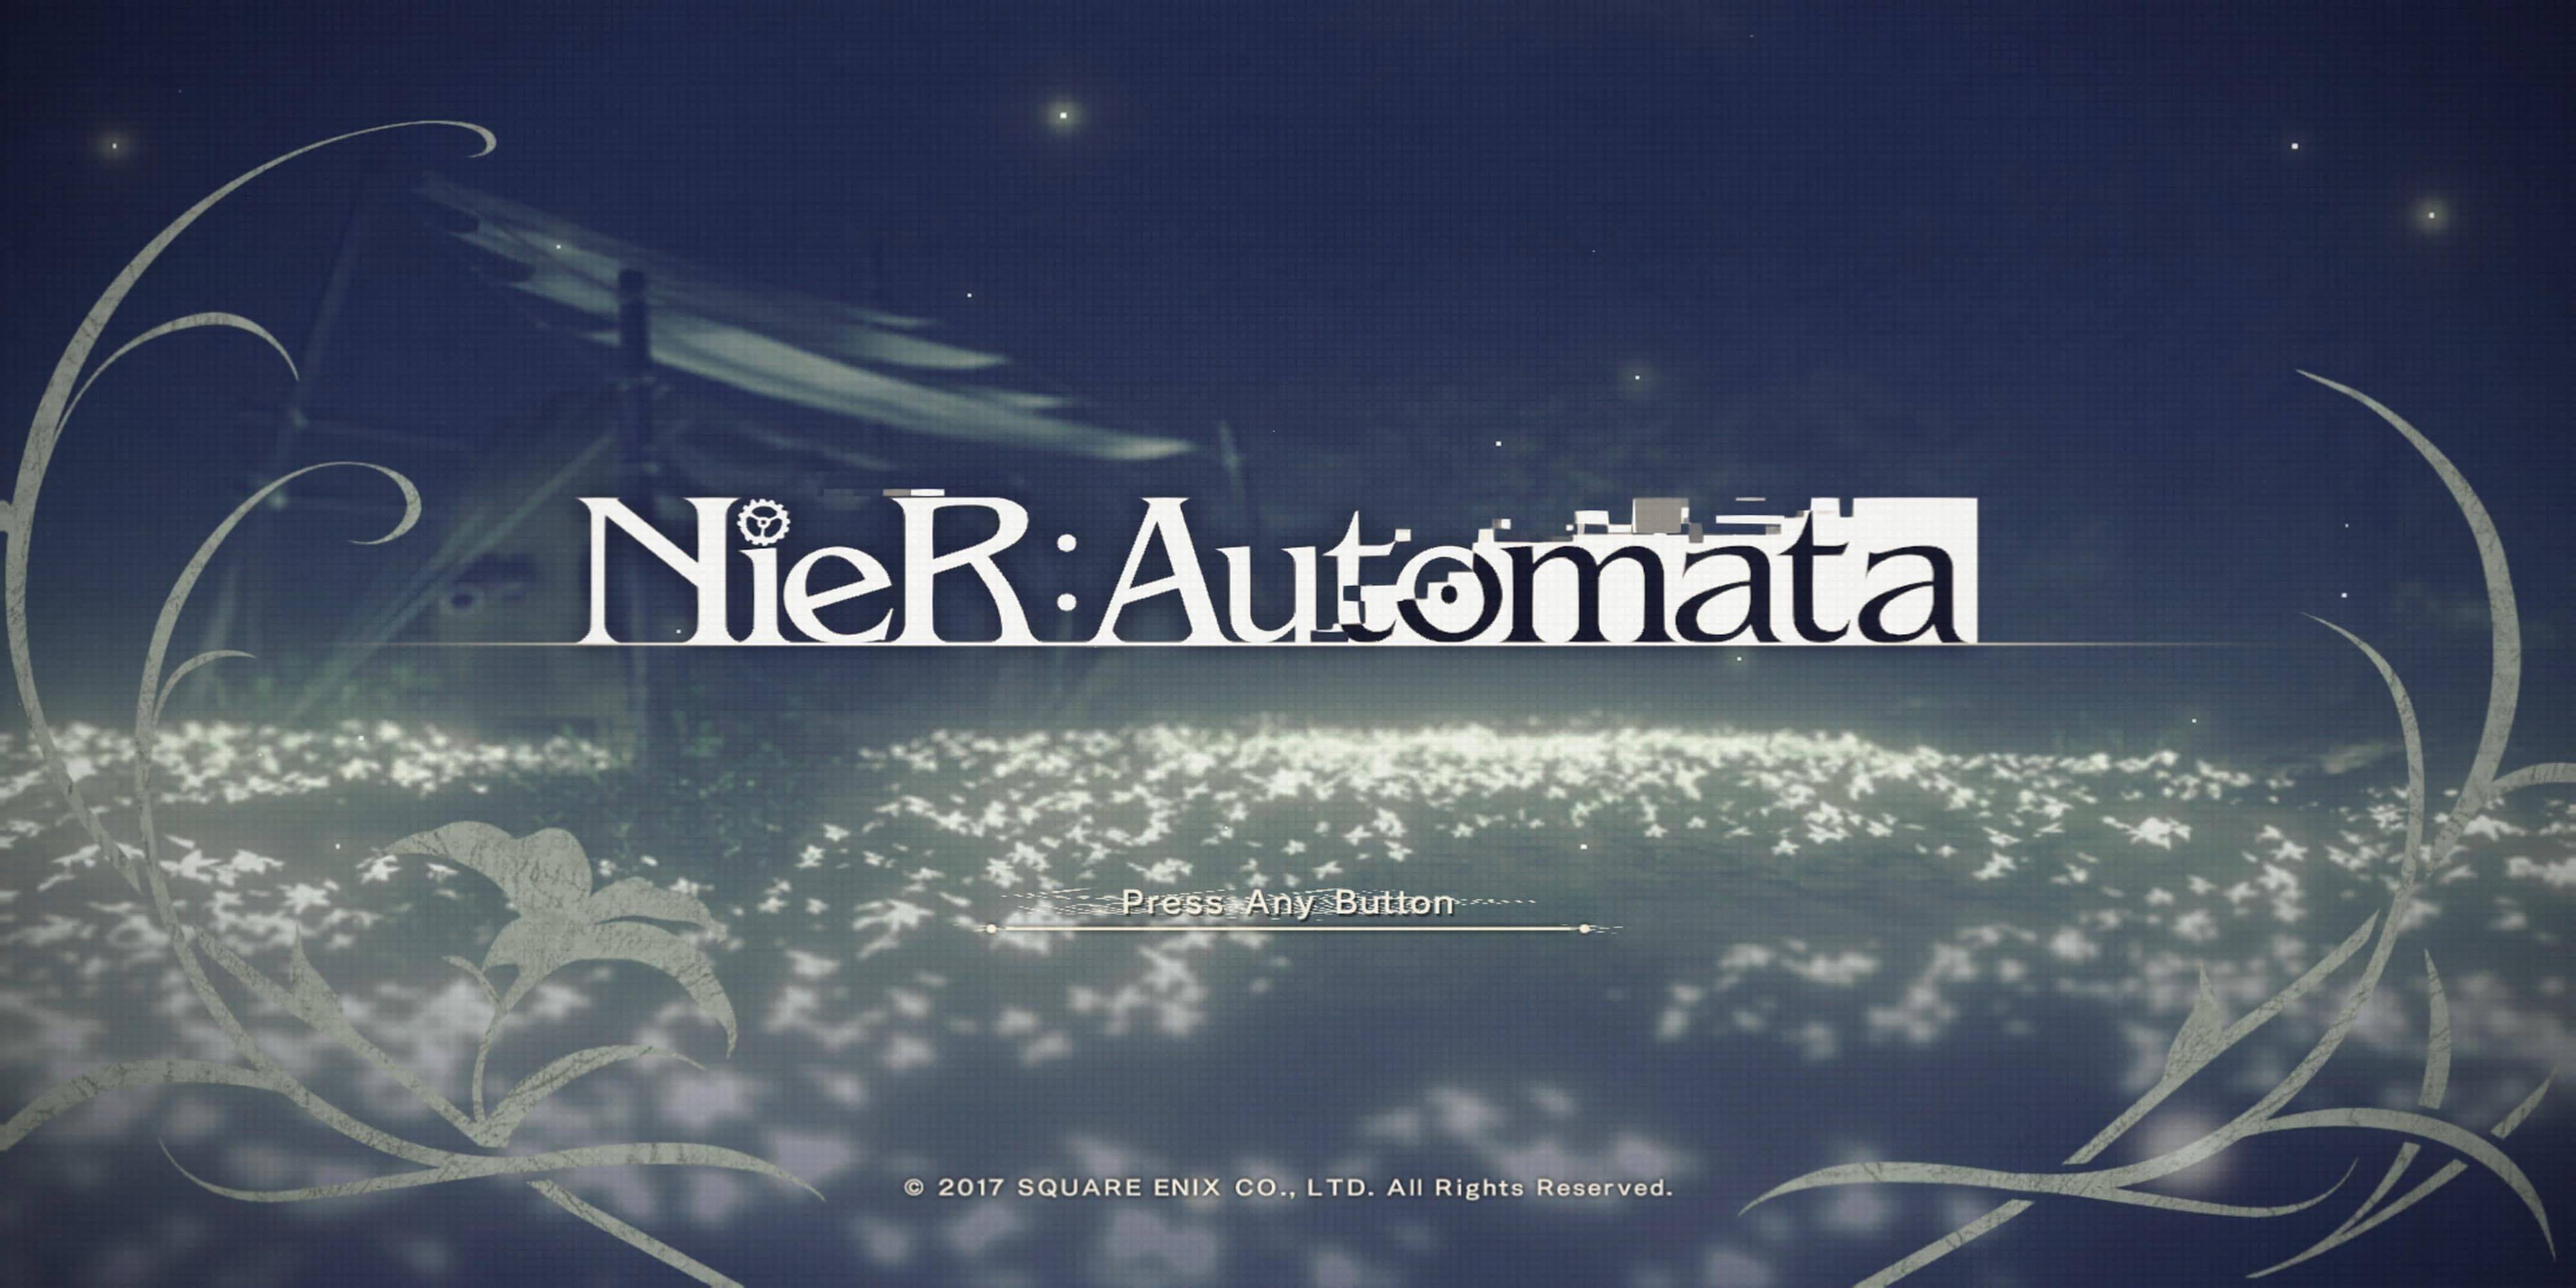
NieR Automata — как разблокировать и использовать выбор главы

By CalebJan 22,2025

NieR Automata — как разблокировать и использовать выбор главы

Быстрые ссылки

В NieR: Automata игроки, как правило, могут свободно исследовать мир и выполнять множество побочных миссий между основными сюжетными миссиями. В игре есть многое, что легко упустить из виду при первом серьезном прохождении.

Когда вы впервые видите финальные титры, игра на самом деле еще далека от завершения, и только после фактического завершения игры вы можете вернуться в том же сохранении и выполнить побочные миссии из более ранних этапов игры. Вот как разблокировать и использовать режим выбора главы, чтобы сделать именно это.

**** Эта статья будет содержать небольшие спойлеры о том, как получить истинную концовку игры ****

Как разблокировать выбор главы в NieR: Automata

Чтобы разблокировать выбор главы, вам нужно получить одну из истинных концовок игры. Для этого вы выполняете три прохождения и выбираете концовку финального противостояния в конце третьего прохождения. Хотя они называются процессами, некоторые члены сообщества называют каждый процесс главой, поскольку все они рассказывают лишь часть общей истории.

После того, как в конце процесса вы увидите субтитры, сохраните игру и загрузите файл еще раз, чтобы начать следующую часть игры, играя за следующего персонажа. Последний процесс позволит вам переключаться между несколькими персонажами, а завершение процесса позволит вам разблокировать выбор глав для этого сохранения.

Как работает выбор главы в NieR: Automata

Вы можете получить доступ к меню выбора главы из двух мест:

  • В главном меню файла сохранения при загрузке игры.
  • Любая точка доступа в мире.

В этом меню вы можете выбрать любую главу игры для загрузки этой части основной истории. Использование выбора главы сохранит все аспекты вашего профиля, такие как ваше оружие, уровни и предметы. При загрузке главы вы также можете выбрать персонажа, за которого хотите играть, если эта глава представляет собой главу для многоролевой игры.

Независимо от того, как вы это делаете и какую главу загружаете, выполненные побочные квесты нельзя пройти снова. Если вы играете в одной главе и хотите перейти к другой, обязательно используйте функцию сохранения в точке доступа, иначе все, завершенное в этой главе, не будет сохранено, а это означает, что вы потеряете все уровни и обнаружите, что получили предметы. Выбор главы — отличный способ пройти игру и завершить весь доступный контент, а также вернуться назад, сделать другой выбор и попытаться получить все концовки в игре.

Предыдущая статья:Construction Simulator 4: мастер-строитель с Expert советами Следующая статья:Dying Light: The Beast – 5 Tips for Surviving Castor Woods | IGN First As Dying Light: The Beast dives deeper into the dark heart of Castor Woods, players are thrust into one of the most dangerous and atmospheric zones yet in the Dying Light universe. With new biome hazards, aggressive enemies, and a relentless threat that stalks you at night, surviving here demands more than just parkour and melee combat. Here are five essential tips to help you stay alive and thrive in Castor Woods: 1. Master the Terrain – Use the Forest to Your Advantage Castor Woods is dense, overgrown, and full of verticality. Unlike the open cityscapes of Harran, here the trees, collapsed buildings, and tangled undergrowth offer natural cover — but they also obscure your vision and can hide enemies. Stay on high ground when possible. Use rooftops, old watchtowers, and wooden platforms to scout ahead. Avoid open clearings at night. The Beast and other creatures move faster and are more aggressive in open areas. Use the environment to ambush: Drop down from trees to surprise enemies, or set traps in narrow pathways. 2. Know the Beast’s Patterns – Hunt It, Don’t Run From It The Beast isn’t just a random threat — it follows predictable hunting patterns. Learn them to survive. The Beast only emerges at night. Stay in safe zones (marked by flares or barricaded buildings) during darkness. It tracks sound and movement. Avoid running, clattering metal, or loud gunfire at night. Use noise to your advantage: Lure it into traps or narrow alleys, then take it down using environmental hazards like gas tanks or collapsing structures. 3. Stock Up on Upgrades and Medic Castor Woods is harsher than any zone before — your gear won’t last long if you’re not prepared. Always carry at least 3–4 med kits and 10+ adrenaline syringes. You’ll need them for stamina recovery during chases. Upgrade your weapons early: Use scavenged materials to improve your melee and ranged weapons. Focus on firearms that deal high damage to large, armored enemies. Keep your backpack light but efficient. Prioritize healing items, flares, and throwable gadgets (like flashbangs and smoke bombs). 4. Use Flares and Light Strategically Light is both a blessing and a curse in Castor Woods. Flares keep you safe from the Beast — but they also attract it. Use flares only when you’re in a secure location (e.g., inside a bunker or under a reinforced structure). Avoid carrying flares at night unless you’re ready to fight. Instead, rely on your flashlight and sound-based stealth. 5. Exploit the Day-Night Cycle for Tactical Advantage The weather and time of day affect enemy behavior and visibility. Daytime is your best time to explore and scavenge. Most enemies are slower and less aggressive. Nighttime is for survival and strategy. Use darkness to hide, but stay alert — the Beast hunts with precision. Plan your missions: Complete objectives during the day, then hole up in fortified areas to survive the night. Final Word: Castor Woods isn’t just another zone — it’s a living, breathing predator. Respect its dangers, master its rhythms, and use every tool at your disposal. With patience, preparation, and cunning, you can not only survive… but dominate the Beast. "In the woods, you don’t outrun the dark. You learn to walk through it." — Dying Light: The Beast – IGN First Stay sharp. Stay silent. And above all — stay alive.