Дом > Новости > "Nintendo Switch 2 Pro Controller, зарядки времени"

"Nintendo Switch 2 Pro Controller, зарядки времени"

By ConnorMay 05,2025

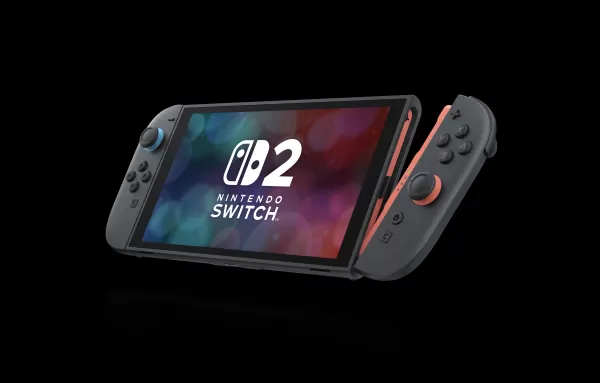
Геймеры, радуйся! Контроллер Nintendo Switch 2 Pro собирается революционизировать ваш игровой опыт со значительно более быстрым временем зарядки. Как подчеркивает Nintendo Life , Nintendo недавно выпустила технические характеристики для нового и улучшенного контроллера Switch 2 Pro Switch 2 за 84,99 долл. США. Теперь требуется всего три с половиной часа, чтобы полностью заряжаться при использовании адаптера переменного тока Nintendo 2 или зарядного кабеля USB-C. Это существенное улучшение, сокращая время зарядки почти вдвое от шести часов первоначального Pro Controller.

Более того, эта более высокая зарядка не ставит под угрозу впечатляющее время автономной работы контроллера. Контроллер Switch 2 Pro поддерживает прочный 40-часовой срок службы на одном заряде, как и его предшественник. Кроме того, он представляет инновационную кнопку C, а также две новые кнопки GL/GR на нижней стороне, и поставляется немного легче и меньше, чем оригинал.

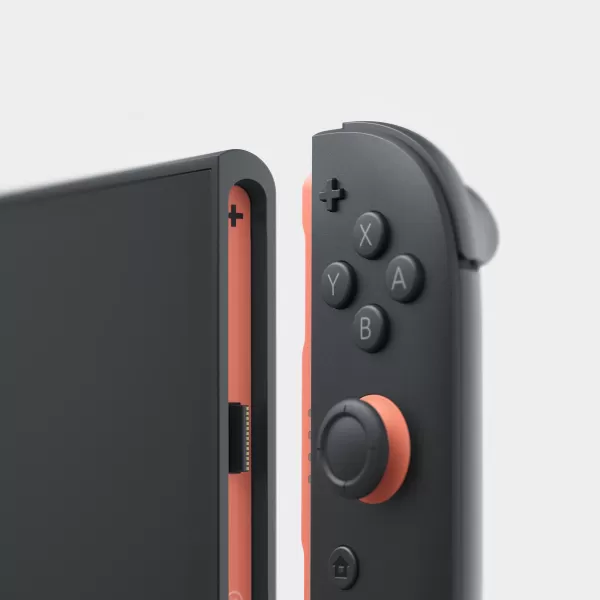
Галерея системы и аксессуаров Nintendo Switch 2

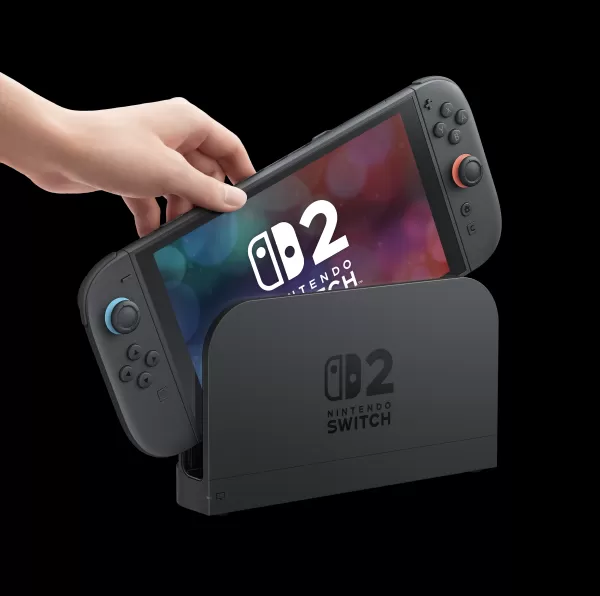
Просмотреть 91 изображения

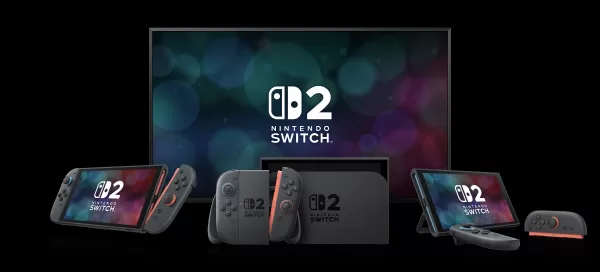
Для тех, кто верен оригиналу, будьте уверены: Nintendo подтвердила, что оригинальный контроллер будет совместим с новой консольной системой . Это обеспечивает плавный переход для обновления геймеров до коммутатора 2.

Nintendo Switch 2 был официально представлен в 60-минутном Nintendo Direct в начале этого месяца. Несмотря на то, что предварительные заказы были первоначально планировались открыть в начале апреля в США из-за неопределенности, связанных с тарифами, Nintendo подтолкнула дату предварительного заказа до 24 апреля . Во время этой задержки Nintendo объявила, что цена в 449,99 долл. США для консоли Switch 2 и ее игры останется неизменной, но они повысили цены на большинство аксессуаров Switch 2, а контроллер Switch 2 Pro увидит повышение цен с 80 до 85 долларов.

Для тех, кто рассматривает обновление, ознакомьтесь с таблицей сравнения Nintendo Switch Switch 2 против Nintendo, чтобы увидеть все различия. Если вы хотите получить в свои руки новую консоль, узнайте , как увеличить свои шансы получить новую консоль Nintendo Switch 2 в первый день .

Предыдущая статья:Construction Simulator 4: мастер-строитель с Expert советами Следующая статья:Dying Light: The Beast – 5 Tips for Surviving Castor Woods | IGN First As Dying Light: The Beast dives deeper into the dark heart of Castor Woods, players are thrust into one of the most dangerous and atmospheric zones yet in the Dying Light universe. With new biome hazards, aggressive enemies, and a relentless threat that stalks you at night, surviving here demands more than just parkour and melee combat. Here are five essential tips to help you stay alive and thrive in Castor Woods: 1. Master the Terrain – Use the Forest to Your Advantage Castor Woods is dense, overgrown, and full of verticality. Unlike the open cityscapes of Harran, here the trees, collapsed buildings, and tangled undergrowth offer natural cover — but they also obscure your vision and can hide enemies. Stay on high ground when possible. Use rooftops, old watchtowers, and wooden platforms to scout ahead. Avoid open clearings at night. The Beast and other creatures move faster and are more aggressive in open areas. Use the environment to ambush: Drop down from trees to surprise enemies, or set traps in narrow pathways. 2. Know the Beast’s Patterns – Hunt It, Don’t Run From It The Beast isn’t just a random threat — it follows predictable hunting patterns. Learn them to survive. The Beast only emerges at night. Stay in safe zones (marked by flares or barricaded buildings) during darkness. It tracks sound and movement. Avoid running, clattering metal, or loud gunfire at night. Use noise to your advantage: Lure it into traps or narrow alleys, then take it down using environmental hazards like gas tanks or collapsing structures. 3. Stock Up on Upgrades and Medic Castor Woods is harsher than any zone before — your gear won’t last long if you’re not prepared. Always carry at least 3–4 med kits and 10+ adrenaline syringes. You’ll need them for stamina recovery during chases. Upgrade your weapons early: Use scavenged materials to improve your melee and ranged weapons. Focus on firearms that deal high damage to large, armored enemies. Keep your backpack light but efficient. Prioritize healing items, flares, and throwable gadgets (like flashbangs and smoke bombs). 4. Use Flares and Light Strategically Light is both a blessing and a curse in Castor Woods. Flares keep you safe from the Beast — but they also attract it. Use flares only when you’re in a secure location (e.g., inside a bunker or under a reinforced structure). Avoid carrying flares at night unless you’re ready to fight. Instead, rely on your flashlight and sound-based stealth. 5. Exploit the Day-Night Cycle for Tactical Advantage The weather and time of day affect enemy behavior and visibility. Daytime is your best time to explore and scavenge. Most enemies are slower and less aggressive. Nighttime is for survival and strategy. Use darkness to hide, but stay alert — the Beast hunts with precision. Plan your missions: Complete objectives during the day, then hole up in fortified areas to survive the night. Final Word: Castor Woods isn’t just another zone — it’s a living, breathing predator. Respect its dangers, master its rhythms, and use every tool at your disposal. With patience, preparation, and cunning, you can not only survive… but dominate the Beast. "In the woods, you don’t outrun the dark. You learn to walk through it." — Dying Light: The Beast – IGN First Stay sharp. Stay silent. And above all — stay alive.