

Быстрые ссылки
Порталы — основная особенность поздней версии Path of Exile 2. Однако, в отличие от обычных узлов областей, порталы требуют не использования камней телепортации, а чего-то другого.
Это руководство объясняет, где найти портал, как правильно его использовать и чего ожидать на другой стороне. Крайне важно знать, чего ожидать, и подготовиться соответствующим образом, чтобы не упустить возможности.
Как найти порталы в PoE 2
Портал можно найти прямо в начале фазы карты. Самый быстрый способ вернуться сюда — нажать на плавающий значок дома на экране карты (на фото выше). Это переместит фокус экрана туда, где началась фаза карты. Портал находится рядом с каменным алтарем.
Иногда значок дома может перекрываться значком красного черепа, который указывает местонахождение горящего монолита. Эти два места обычно расположены очень близко друг к другу. Нажмите на один, чтобы найти другой.
Как использовать порталы в PoE 2
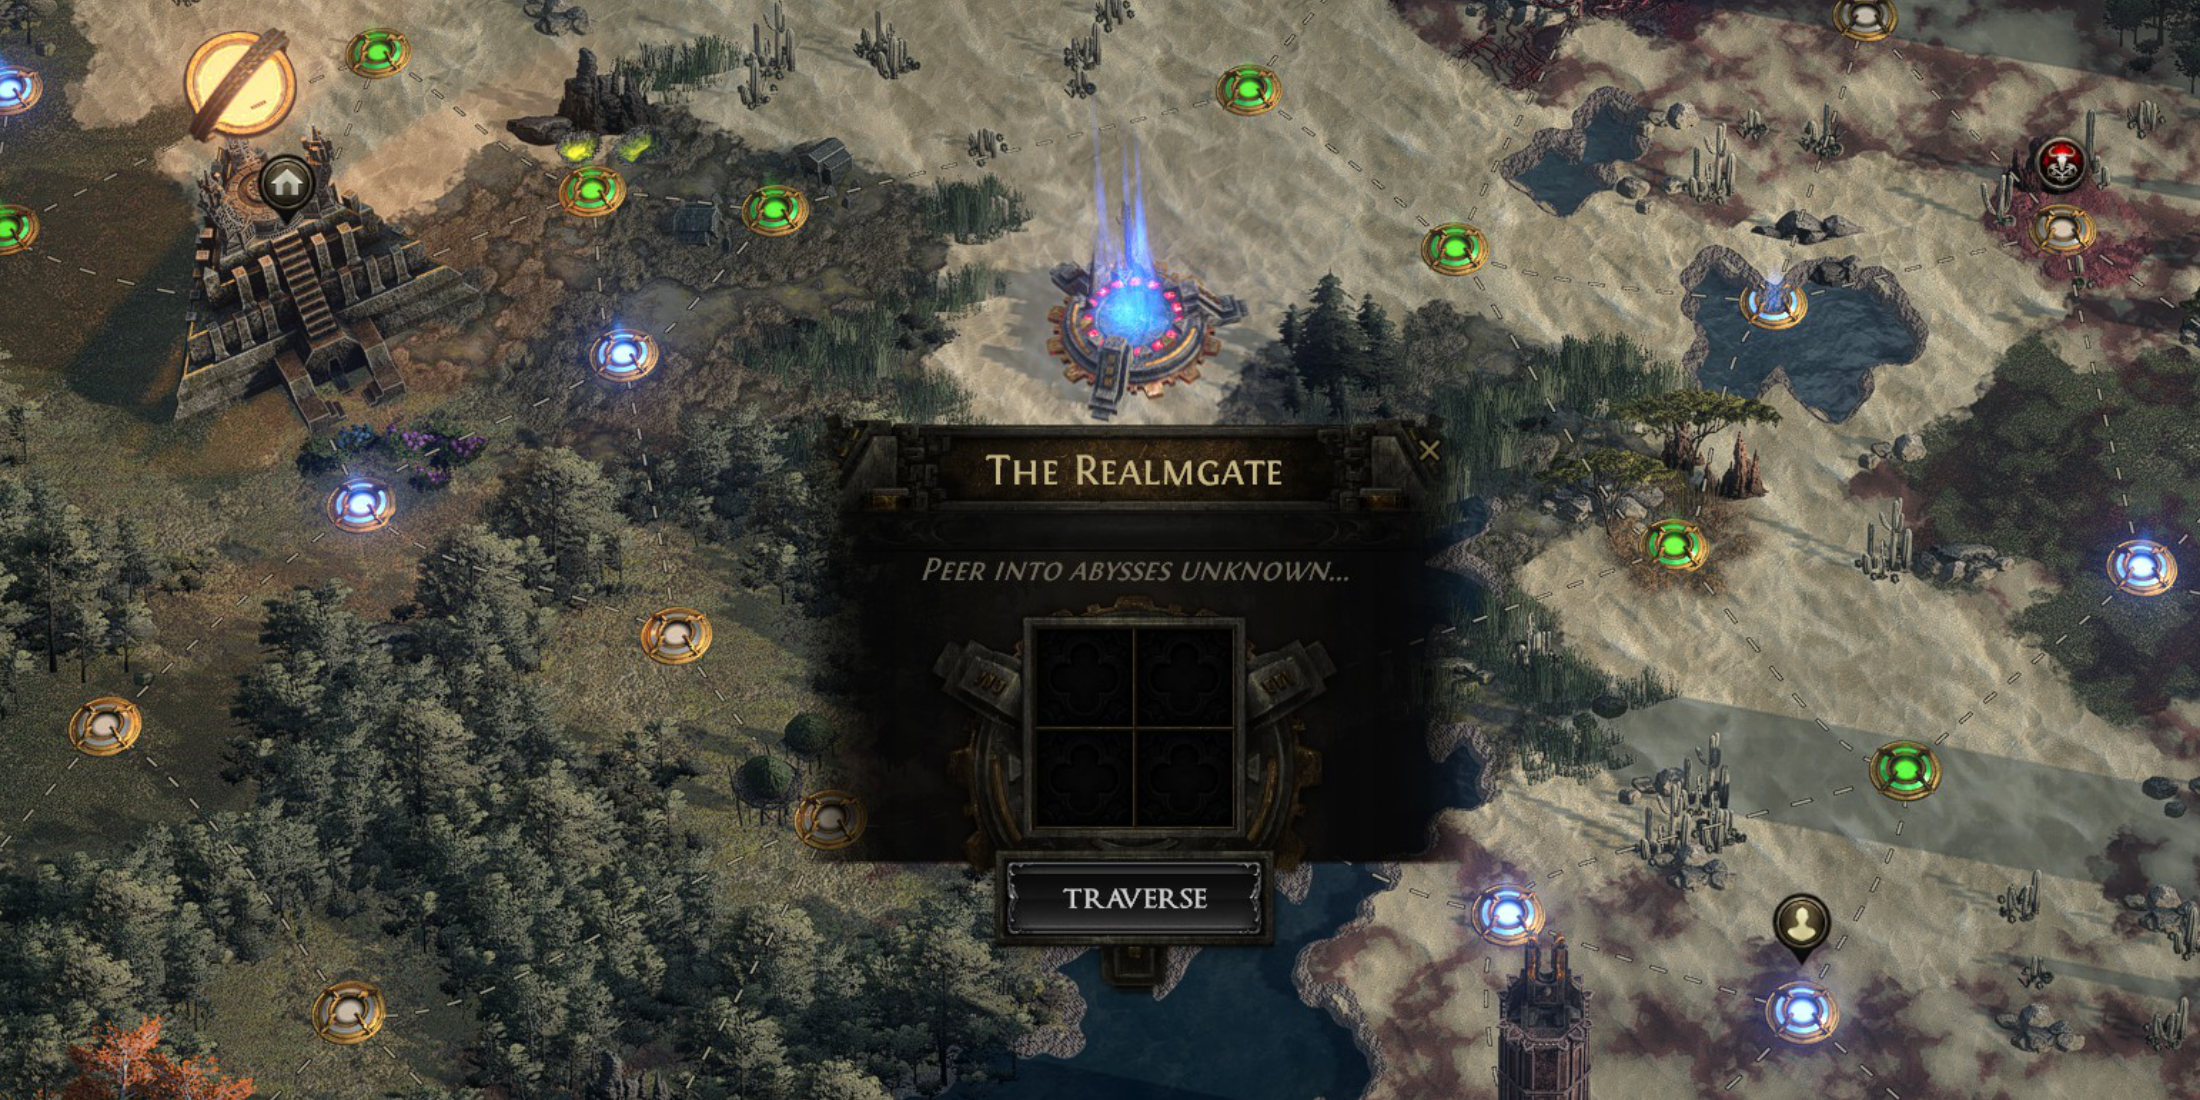 В отличие от обычных узлов области, камни телепортации не могут действовать на порталы. Вместо этого роль портала состоит в том, чтобы привести игроков к битве с главным боссом в поздней игре. В настоящее время в игре есть четыре битвы с пиковыми боссами, требующие порталов. Вот как использовать порталы для доступа к боям с боссами.
- Единственный среди нас, Зешт (босс Пика Разлома): Объедините 300
 Фрагментов Разлома, чтобы создать Камень Разлома. Используйте Камень Разлома у портала, чтобы вступить в битву с боссом Зештом.
 - Начало Падения, Олрот (босс Пика приключений): поговорите с Даннигом в убежище и используйте журнал уровня 79 или выше (выпадающий в приключении). На карте приключений вы можете случайным образом встретить Даннига, как и трех других NPC приключений (Рог, Гвеннен и Туджен), после чего он будет постоянно проживать в вашем убежище.
- Симуляция (Событие «Пик Лабиринта»): объедините 300
 фрагментов симуляции, чтобы создать симуляцию, которую можно использовать на портале. Вместо того, чтобы сразу вступать в битву с одним боссом, он создаст карту, содержащую 15 волн врагов-лабиринтов. Эта битва лучше всего подходит для конфигурации карты.
 - Король в тумане (босс ритуального пика): потратьте дань через систему ритуальной благосклонности, чтобы получить предметы для встречи с королем. Используйте его на портале, чтобы вступить в эту битву.
Финальные боссы Испытаний Хаоса и Испытания Сехмаса — Мастер Испытаний и Зарок Повелитель Времени (талант 4-го издания) находятся в конце Испытания Хаоса и Испытания Сехмаса соответственно. Эти два босса не принадлежат системе порталов.
Настоящий финальный вершинный босс — Арбитр или Пепел — самый могущественный из всех боссов, и его можно найти только в Пылающем Монолите, а не через портал. Чтобы вступить в эту битву, вам нужно будет получить три ключа от крепости, выполняя квесты, которые разблокируются после вашей первой встречи с Пылающим Монолитом.
 Последние загрузки
 Downlaod




 Главные новости




![A Father’s Sins – Going to Hell [Ch. 7 Public] By Pixieblink](https://imgs.jzvvv.com/uploads/67/1719578270667eae9eb6a75.jpg)