

Проклятая миссия Metro 2033: полное руководство
Несмотря на свой возраст, Metro 2033 остается фаворитом фанатов, особенно после выхода VR-игры Metro Awakening. В этом руководстве основное внимание уделяется сложной миссии «Проклятые», действие которой происходит на московской станции «Тургеневская» (как она известна в книгах и реальном мире). Неясные цели миссии и запутанная планировка часто сбивают с толку игроков. Все начинается после того, как аномалия стала свидетелем уничтожения орды носалисов; Хан использует дрезину, чтобы добраться до следующей станции, где начинается «Проклятый».
В поисках бомбы
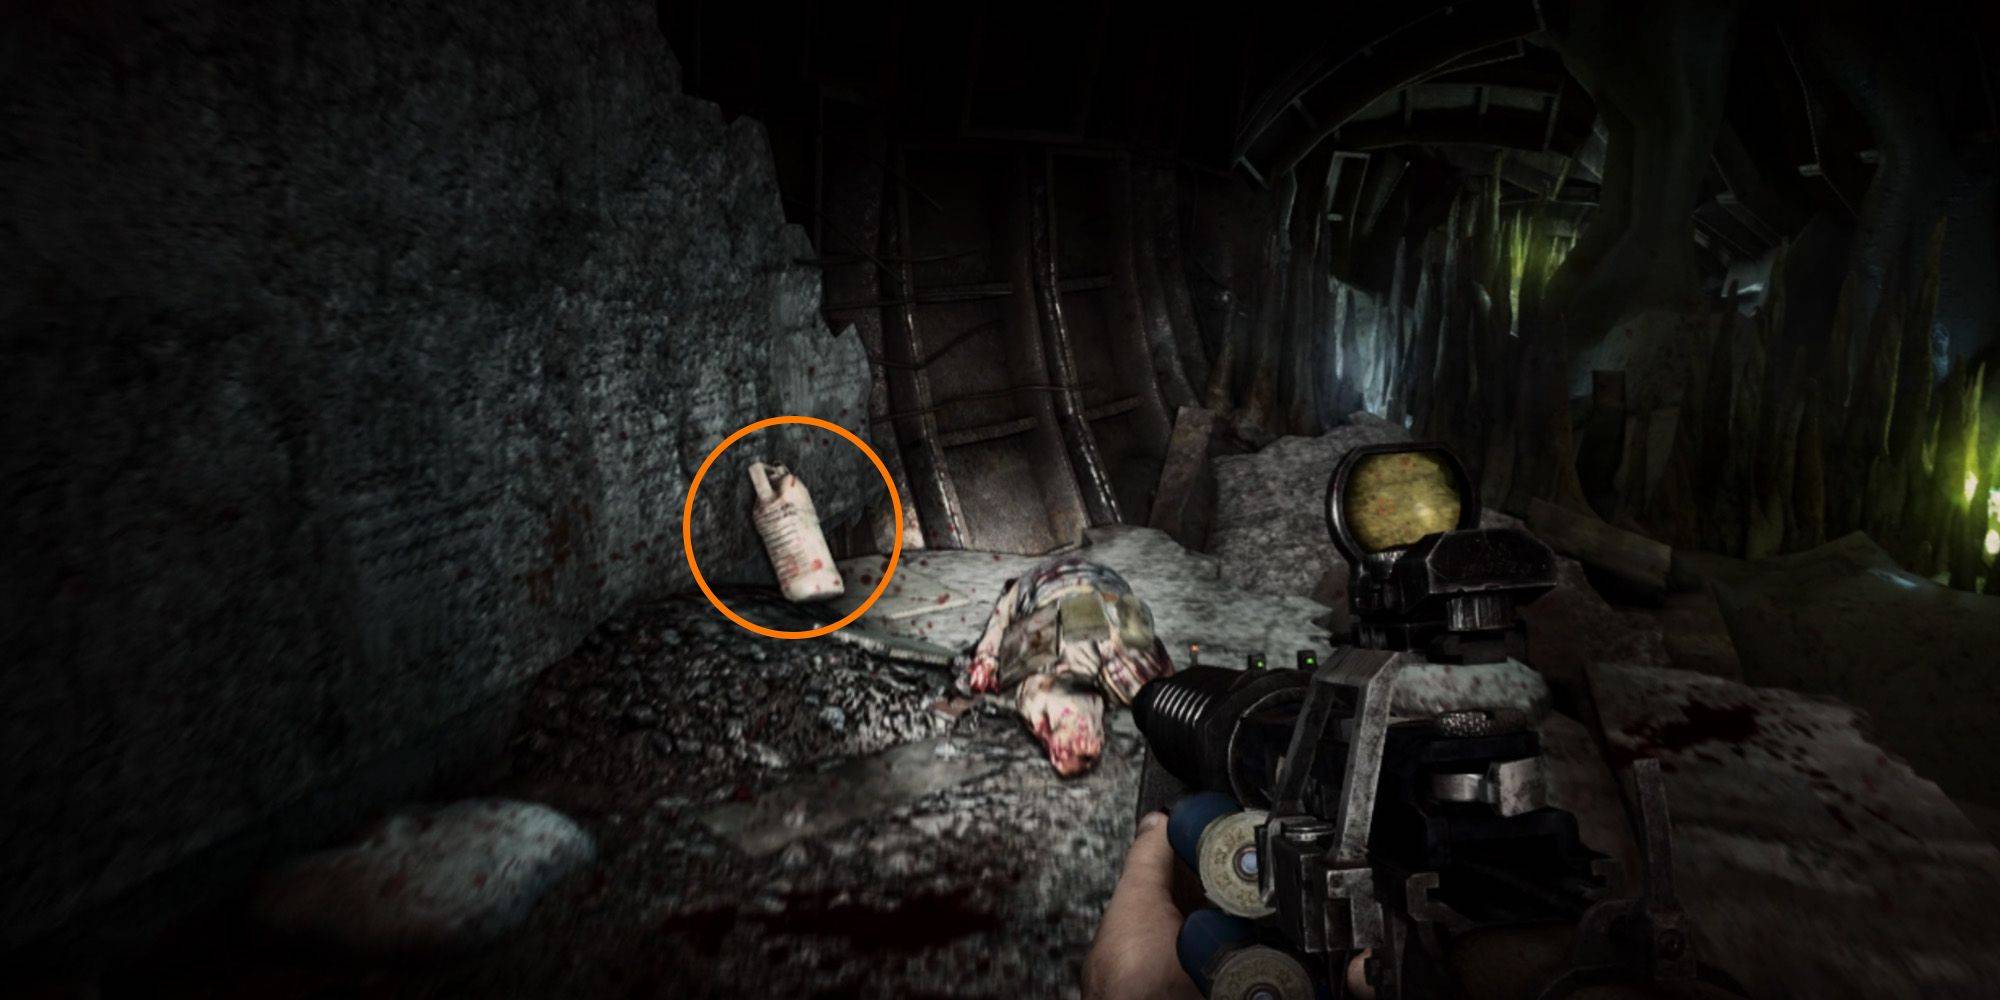 Выйдя из вагона, следуйте за Ханом к защитникам на забаррикадированных эскалаторах. Они объяснят, что группа взрывников исчезла при попытке обрушить туннель, предотвращая дальнейшие атаки носалисов. Ваша задача: найти и взорвать бомбу. Ожидайте постоянных приступов носа; отступите к защитникам за поддержкой в случае поражения. Вероятно, вам придется отступить хотя бы один раз во время поиска.
Бомба находится в дальнем конце правого туннеля. Избегайте призрачных теней на прямом пути — они причинят вам вред. Как только вы получите бомбу, либо идите в соседний туннель, либо отступите, если необходимо.
Разрушение туннеля
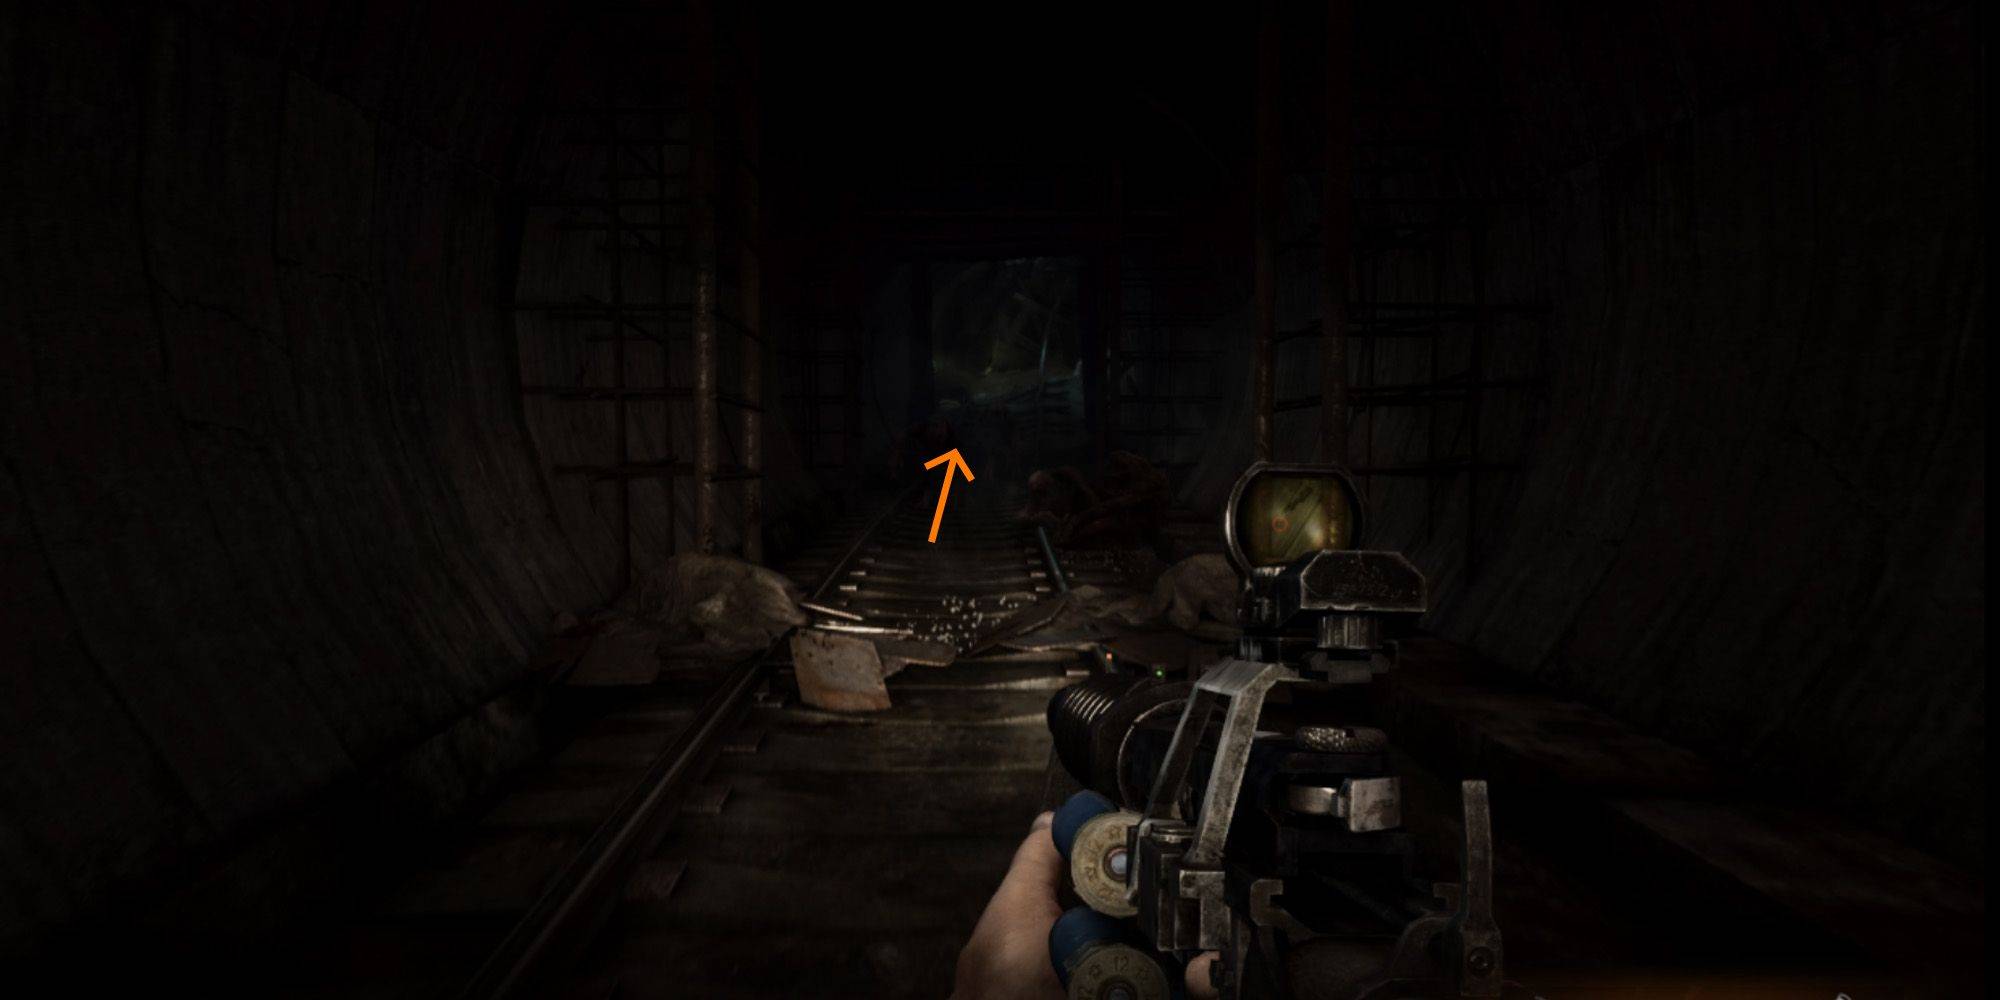 Чтобы взорвать бомбу, войдите в левый туннель (с точки зрения защитников). Запустится кат-сцена; Артём автоматически заводит и зажигает фитиль. Немедленно бегите, чтобы избежать взрыва. Даже если туннель будет разрушен, носалисы все равно будут проникать другими путями, поэтому сохраняйте бдительность. Альтернативно, граната или самодельная бомба в той же области приведет к Achieve тому же результату.
Уничтожение шлюза
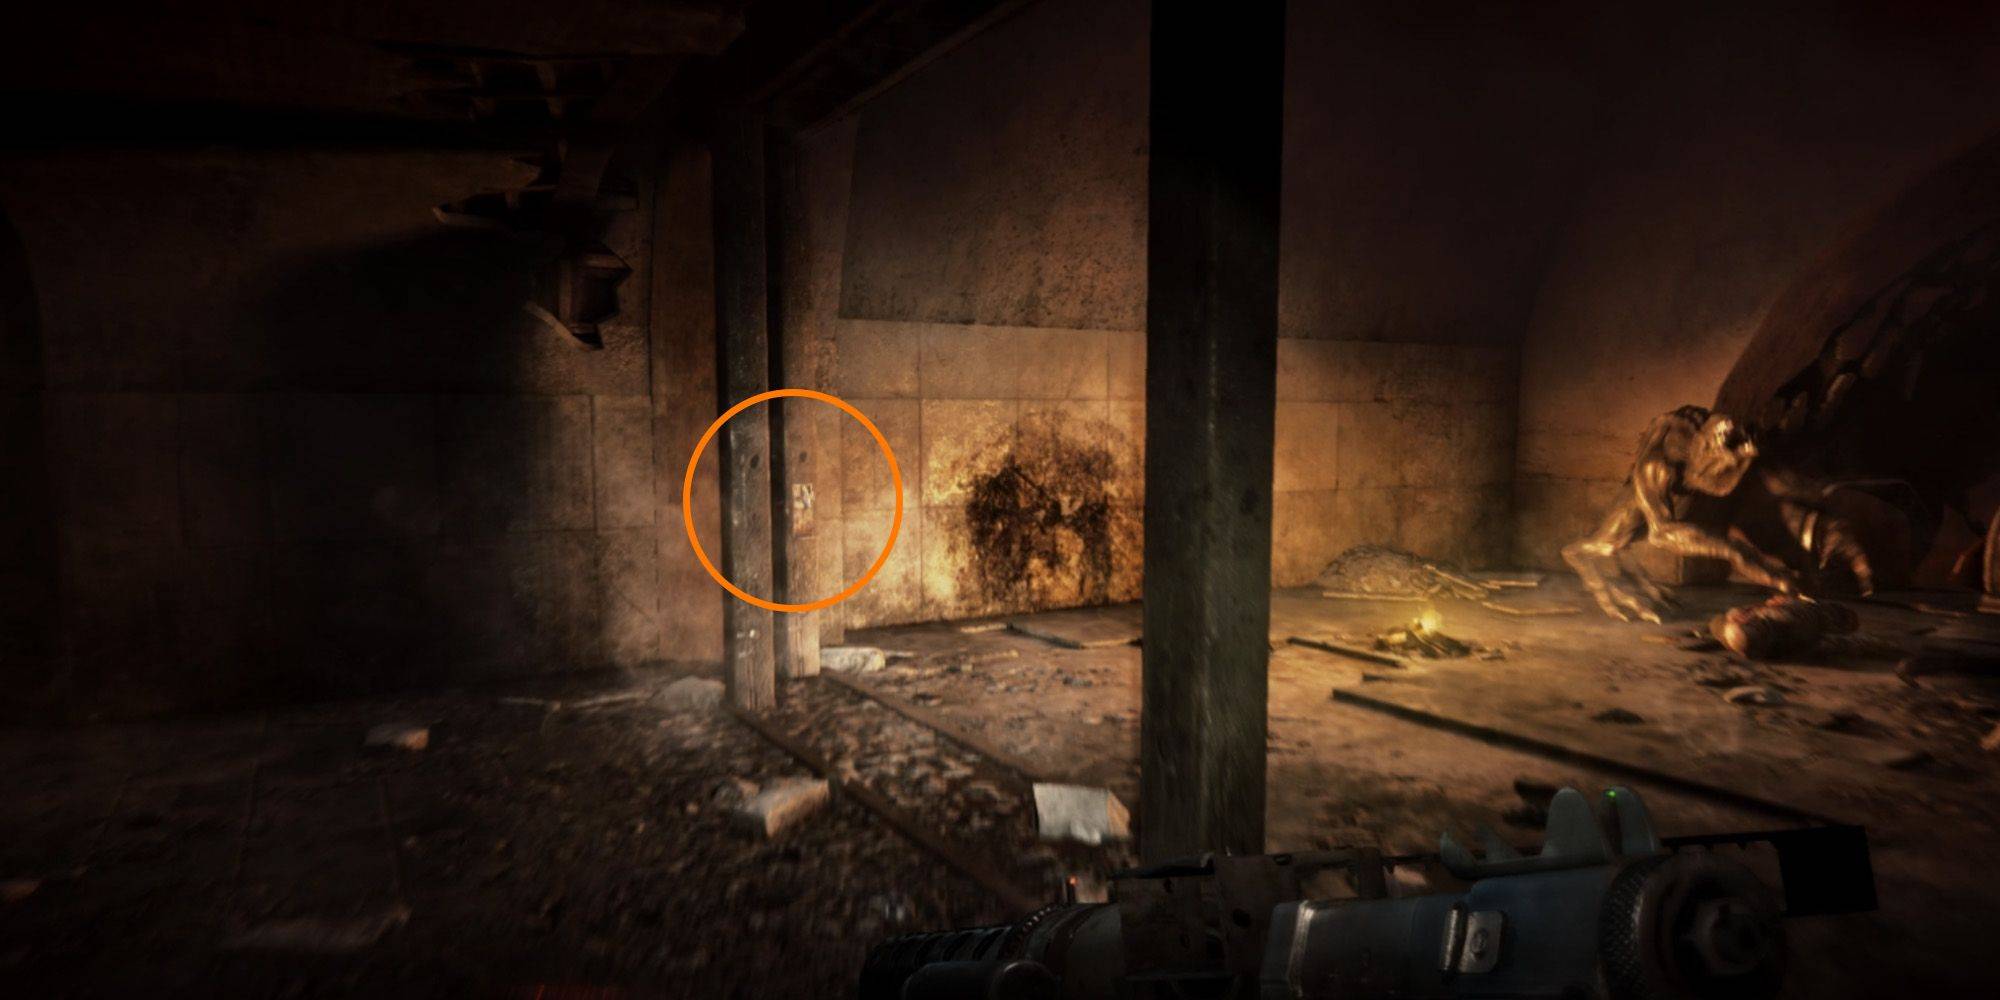 Для обеспечения безопасности станции требуется еще один шаг: уничтожить шлюзовую камеру. Поднимитесь по лестнице справа от главной платформы, в освещенную факелами область. Не обращайте внимания на носалисы и найдите опорные столбцы. Взаимодействуя с ними, вы устанавливаете самодельную бомбу с часовым механизмом. Как и в случае с туннелем, быстро эвакуируйтесь после его активации. Запечатав оба входа, следуйте за Ханом в святилище, ведущее к миссии «Оружейная».
 Последние загрузки
 Downlaod




 Главные новости




![A Father’s Sins – Going to Hell [Ch. 7 Public] By Pixieblink](https://imgs.jzvvv.com/uploads/67/1719578270667eae9eb6a75.jpg)