Дом > Новости > NieR: Automata — где взять шкуру зверя

NieR: Automata — где взять шкуру зверя

By AriaJan 07,2025

NieR: Automata — где взять шкуру зверя

NieR: Automata предлагает широкий выбор оружия, которое можно многократно улучшать, поэтому ваше любимое оружие останется жизнеспособным на протяжении всей игры. Для улучшения оружия требуются различные ресурсы, причем шкуры зверей являются особенно важным, но менее доступным материалом. В этом руководстве подробно описаны эффективные стратегии ведения сельского хозяйства.

Получение шкур зверей в NieR: Automata

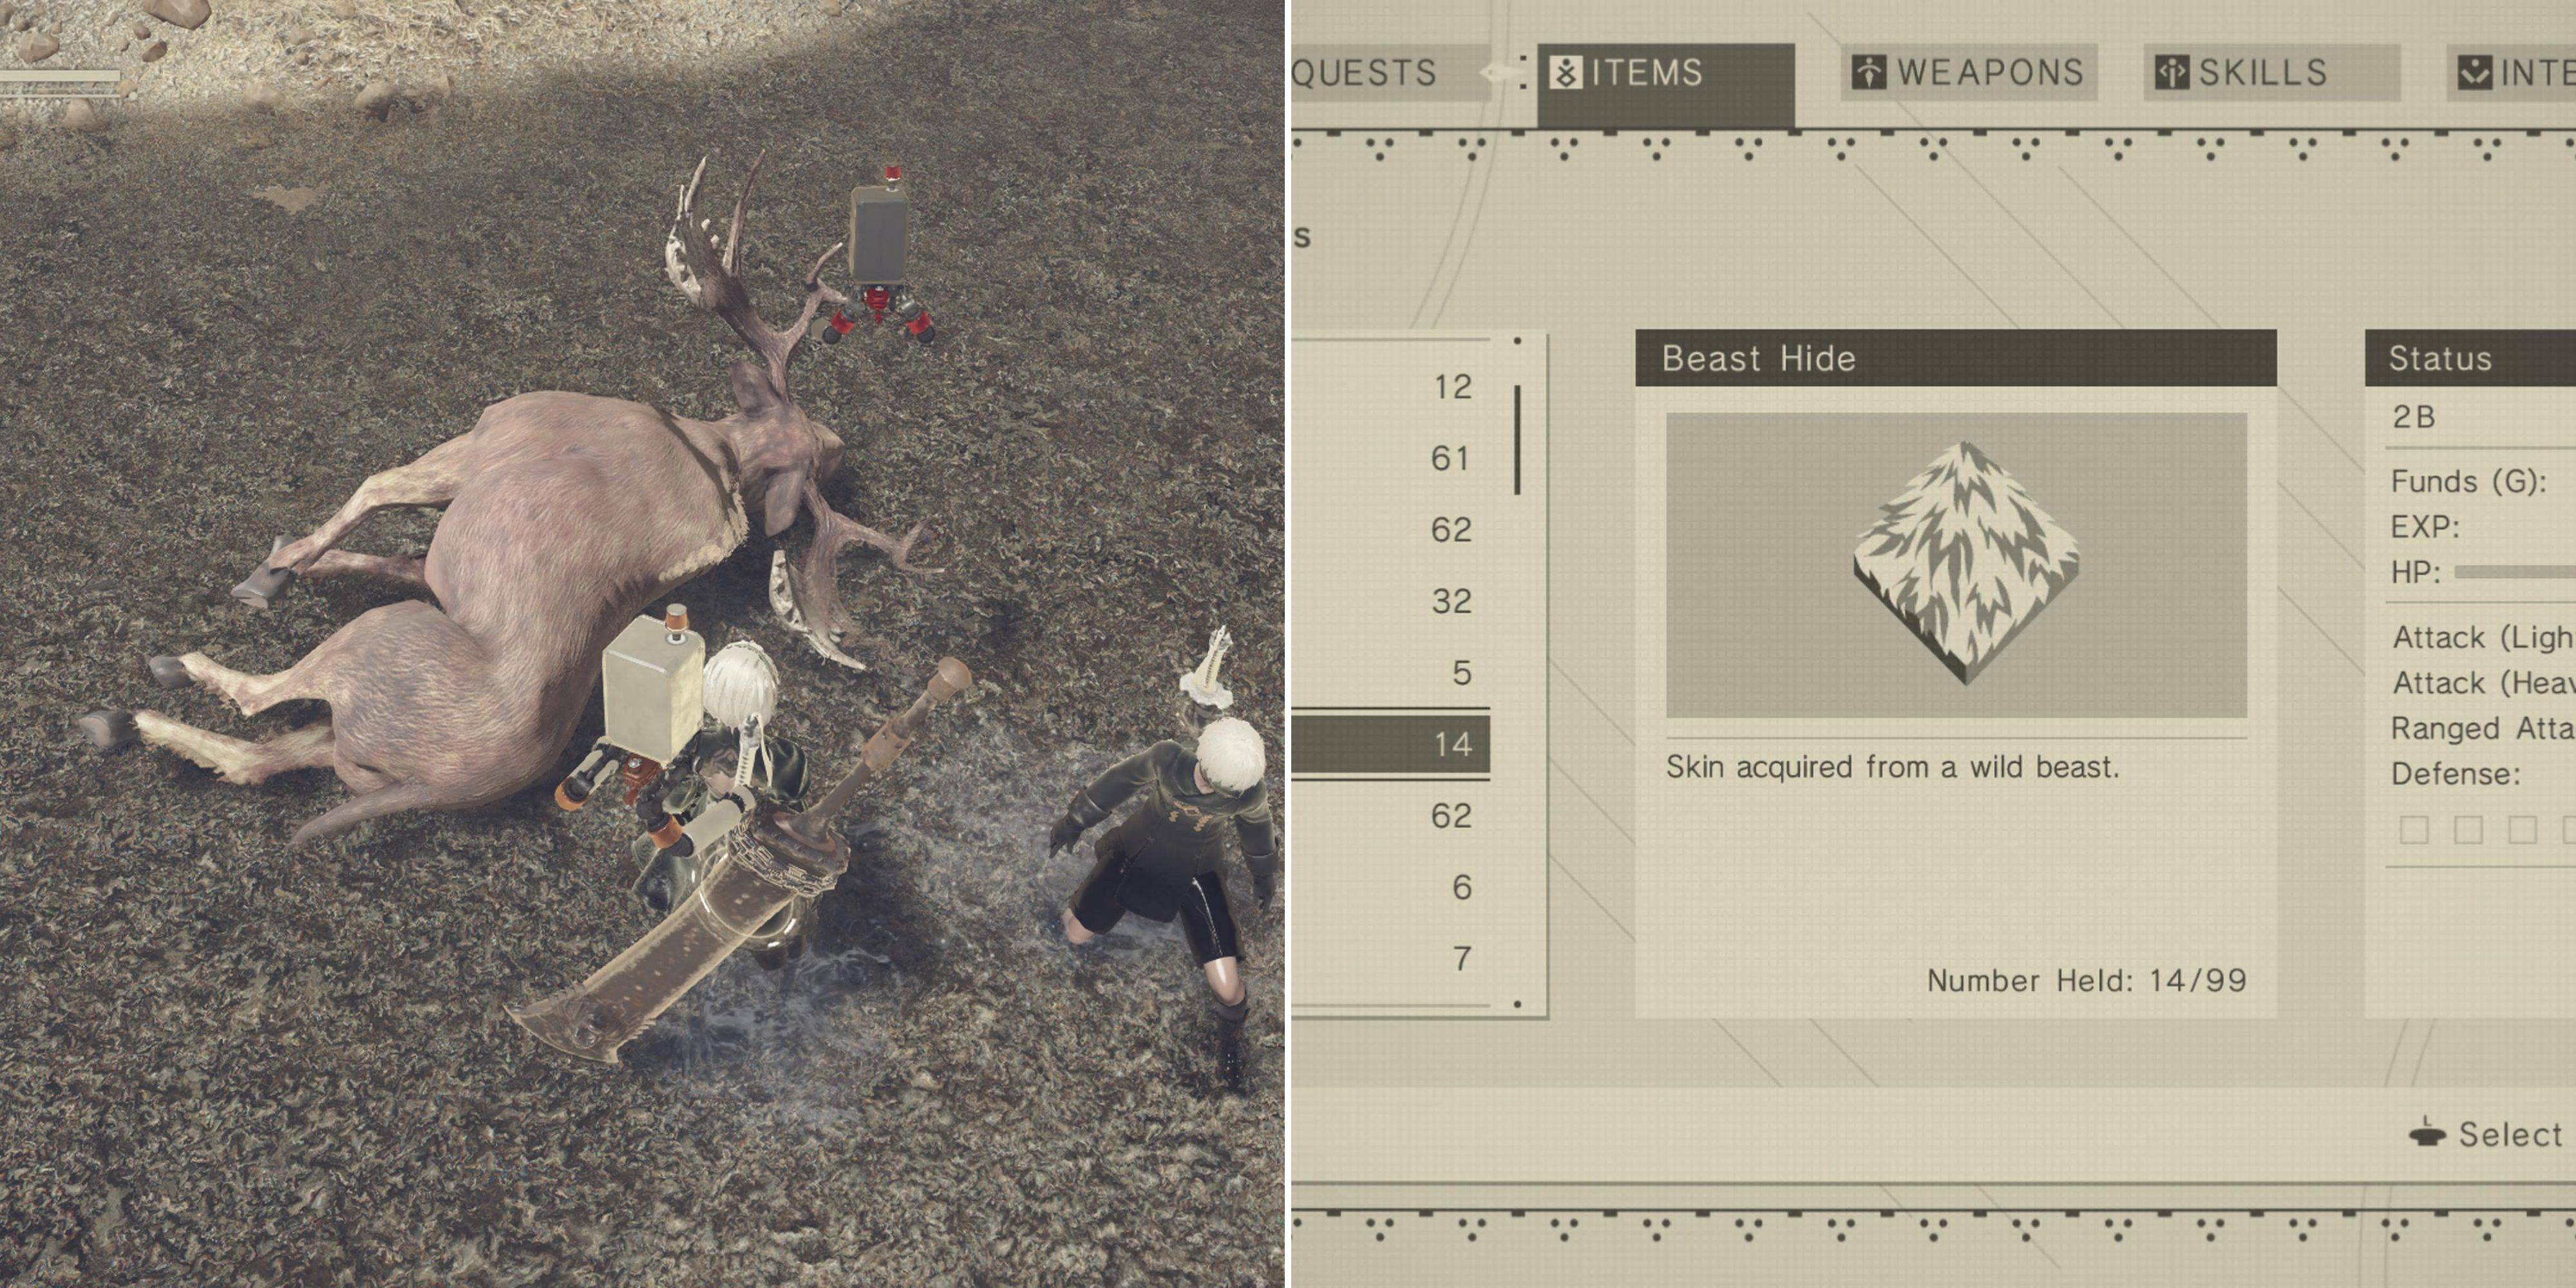
Шкуры зверей можно получить, побеждая диких животных, таких как лоси и кабаны. Эти существа случайным образом появляются в определенных областях карты, обычно избегая игроков и роботов. Их легко узнать на мини-карте по белым значкам (в отличие от черных значков машин). Однако, в отличие от машин, дикие животные возрождаются реже, что требует стратегического поиска.

Лось и кабан обитают исключительно в разрушенном городе и лесных зонах игры. Их поведение (бегство или нападение) зависит от разницы уровней между вами и животным. Животные более высокого уровня могут стать агрессивными даже на расстоянии. Дикая природа обладает значительным запасом здоровья, что усложняет встречи на ранних стадиях игры, особенно с существами того же или более высокого уровня.

Использование наживки для животных может приманить диких животных поближе, упрощая охоту.

Поскольку дикие животные не возрождаются постоянно во время основной сюжетной линии, охота на них требует исследования и повторного посещения территорий. Механика возрождения похожа на машины:

  • Быстрое путешествие сбрасывает всех врагов и диких животных.
  • Прохождение достаточного расстояния вызывает возрождение в ранее посещенных областях.
  • Прогресс сюжета также может вызывать возрождение.

Эффективному выращиванию шкур зверя не хватает простого метода. Последовательное уничтожение встреченных диких животных во время исследования лесных и городских руин обычно обеспечивает достаточное количество укрытий. Вероятность выпадения относительно высока, а это означает, что вам обычно не понадобится чрезмерное количество в любой момент времени, при условии, что вы не модернизируете одновременно больше оружия, чем можете оборудовать.

Предыдущая статья:Construction Simulator 4: мастер-строитель с Expert советами Следующая статья:Dying Light: The Beast – 5 Tips for Surviving Castor Woods | IGN First As Dying Light: The Beast dives deeper into the dark heart of Castor Woods, players are thrust into one of the most dangerous and atmospheric zones yet in the Dying Light universe. With new biome hazards, aggressive enemies, and a relentless threat that stalks you at night, surviving here demands more than just parkour and melee combat. Here are five essential tips to help you stay alive and thrive in Castor Woods: 1. Master the Terrain – Use the Forest to Your Advantage Castor Woods is dense, overgrown, and full of verticality. Unlike the open cityscapes of Harran, here the trees, collapsed buildings, and tangled undergrowth offer natural cover — but they also obscure your vision and can hide enemies. Stay on high ground when possible. Use rooftops, old watchtowers, and wooden platforms to scout ahead. Avoid open clearings at night. The Beast and other creatures move faster and are more aggressive in open areas. Use the environment to ambush: Drop down from trees to surprise enemies, or set traps in narrow pathways. 2. Know the Beast’s Patterns – Hunt It, Don’t Run From It The Beast isn’t just a random threat — it follows predictable hunting patterns. Learn them to survive. The Beast only emerges at night. Stay in safe zones (marked by flares or barricaded buildings) during darkness. It tracks sound and movement. Avoid running, clattering metal, or loud gunfire at night. Use noise to your advantage: Lure it into traps or narrow alleys, then take it down using environmental hazards like gas tanks or collapsing structures. 3. Stock Up on Upgrades and Medic Castor Woods is harsher than any zone before — your gear won’t last long if you’re not prepared. Always carry at least 3–4 med kits and 10+ adrenaline syringes. You’ll need them for stamina recovery during chases. Upgrade your weapons early: Use scavenged materials to improve your melee and ranged weapons. Focus on firearms that deal high damage to large, armored enemies. Keep your backpack light but efficient. Prioritize healing items, flares, and throwable gadgets (like flashbangs and smoke bombs). 4. Use Flares and Light Strategically Light is both a blessing and a curse in Castor Woods. Flares keep you safe from the Beast — but they also attract it. Use flares only when you’re in a secure location (e.g., inside a bunker or under a reinforced structure). Avoid carrying flares at night unless you’re ready to fight. Instead, rely on your flashlight and sound-based stealth. 5. Exploit the Day-Night Cycle for Tactical Advantage The weather and time of day affect enemy behavior and visibility. Daytime is your best time to explore and scavenge. Most enemies are slower and less aggressive. Nighttime is for survival and strategy. Use darkness to hide, but stay alert — the Beast hunts with precision. Plan your missions: Complete objectives during the day, then hole up in fortified areas to survive the night. Final Word: Castor Woods isn’t just another zone — it’s a living, breathing predator. Respect its dangers, master its rhythms, and use every tool at your disposal. With patience, preparation, and cunning, you can not only survive… but dominate the Beast. "In the woods, you don’t outrun the dark. You learn to walk through it." — Dying Light: The Beast – IGN First Stay sharp. Stay silent. And above all — stay alive.