Дом > Новости > "Сохраните свою игру в репо: гид"

"Сохраните свою игру в репо: гид"

By CarterMay 13,2025

Погружение в кооперативную игру ужасов * Репо * может быть захватывающим опытом, поскольку вы и до пяти друзей перемещаются по жутким картам, чтобы получить ценные предметы. Однако потеря вашего прогресса может быть кошмаром. Вот всеобъемлющее руководство о том, как обеспечить безопасную спасение вашей тяжелой работы в * Repo *.

Как сохранить свою игру в репо

Нет ничего более разочаровывающего, чем возвращение к вашей игре, стремясь продолжить от того места, где вы остановились, только чтобы обнаружить, что ваш прогресс не был сохранен. Эта проблема особенно распространена с новыми играми, где функции Autosave могут быть не такими простыми или где вам нужно достичь определенных контрольных точек перед сохранением.

В *Repo *очень важно понимать, что игра только автоматически после завершения уровня. Там нет функции ручного сохранения, поэтому, если вы выйдете во время миссии или умри (отправив вас на арену утилизации), ваш прогресс будет потерян, и вам придется перезапустить с самого начала этого уровня.

Чтобы сохранить свою игру, вы должны успешно пройти уровень, доставив свои собранные ценные вещи в точку добычи. Затем найдите свой путь к грузовику и нажмите кнопку «Сообщение над головой», чтобы сигнализировать налоговому боссу, вашему боссу ИИ, что пришло время отправиться на станцию ​​обслуживания. На станции обслуживания вы можете делать покупки и подготовиться к следующему уровню. Используйте ту же кнопку, чтобы перейти к вашей следующей миссии.

Экран меню репо как часть статьи о том, как сохранить. 
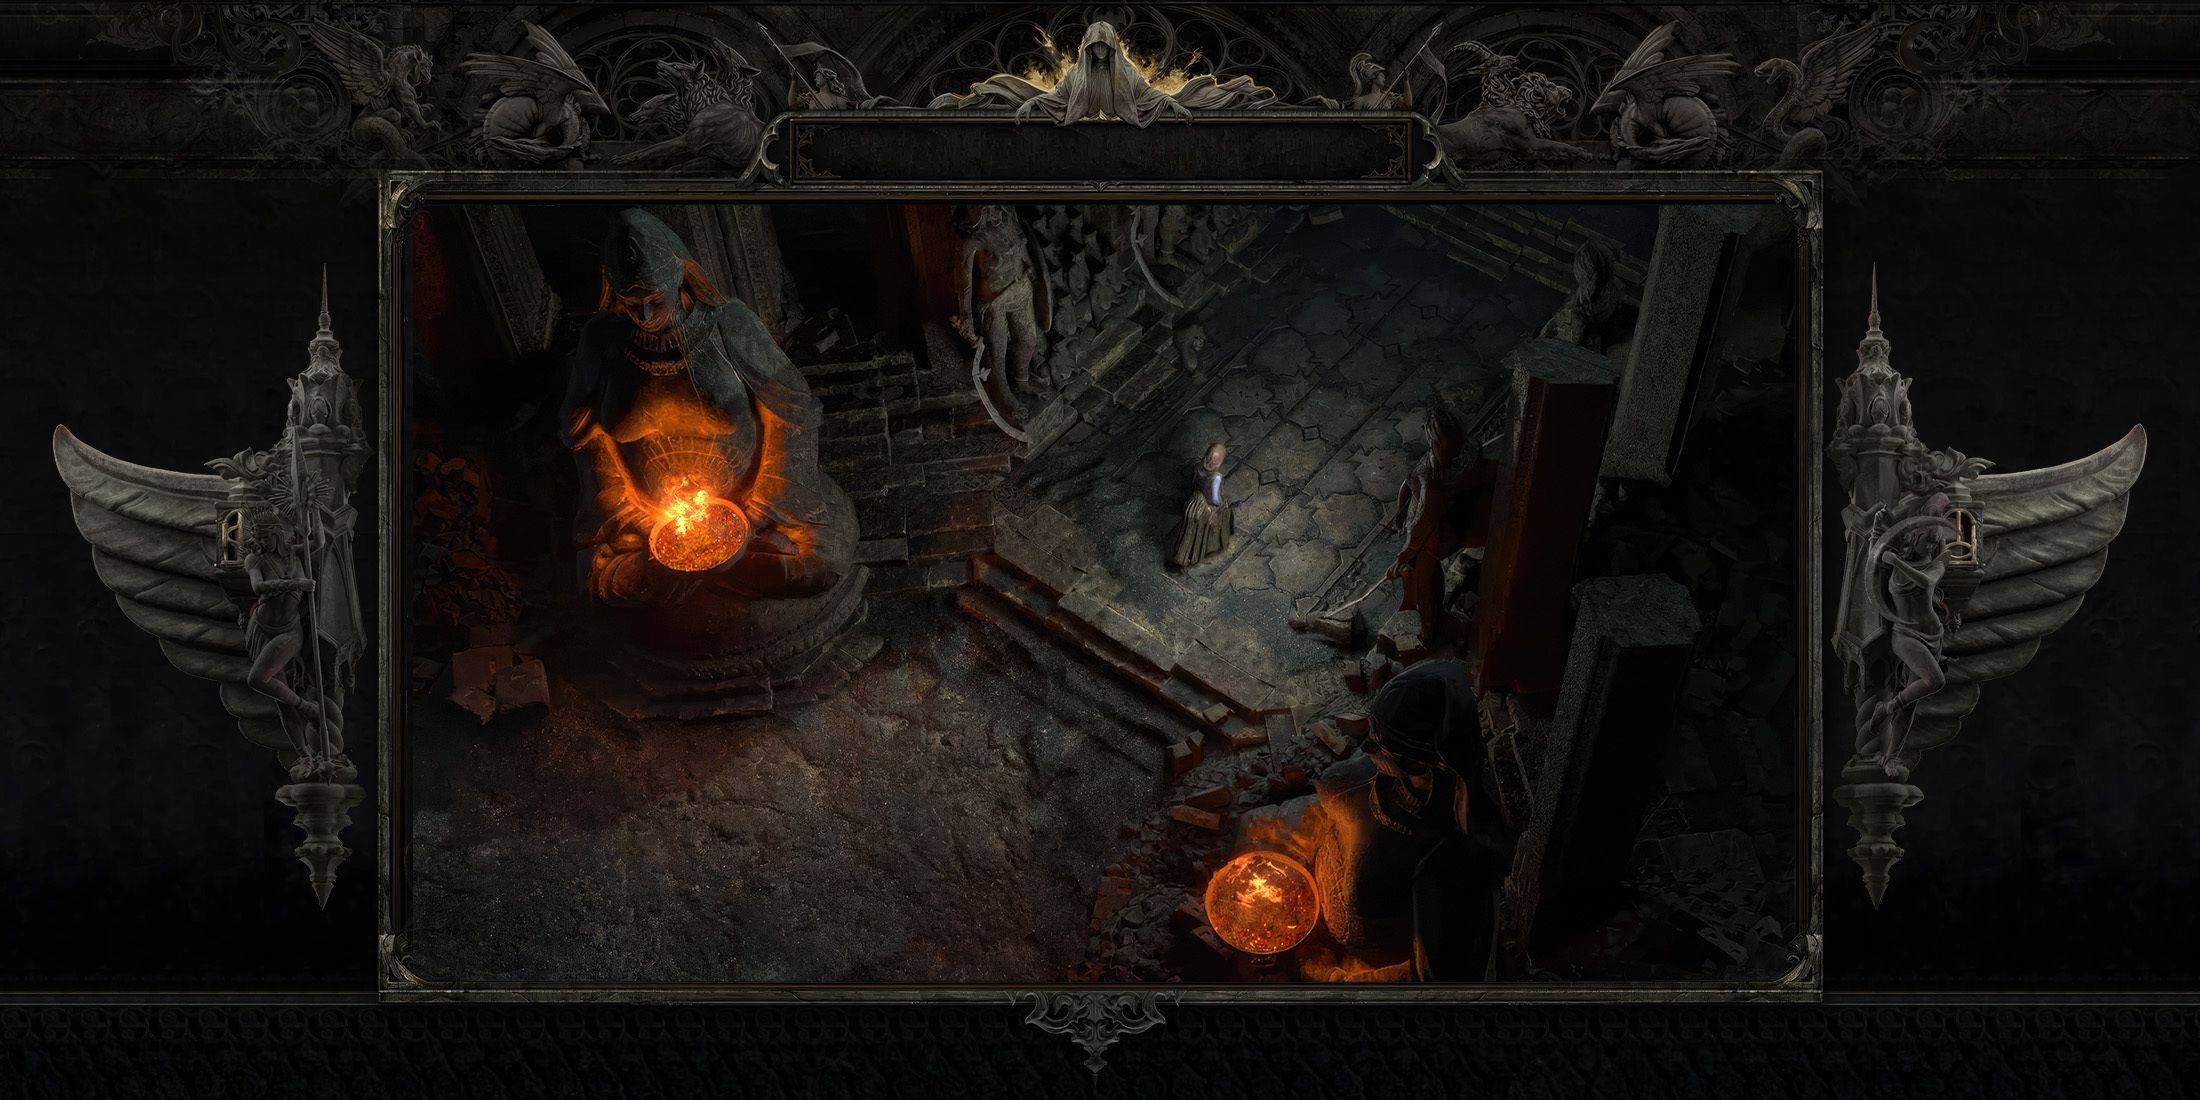
Изображение через эскапист
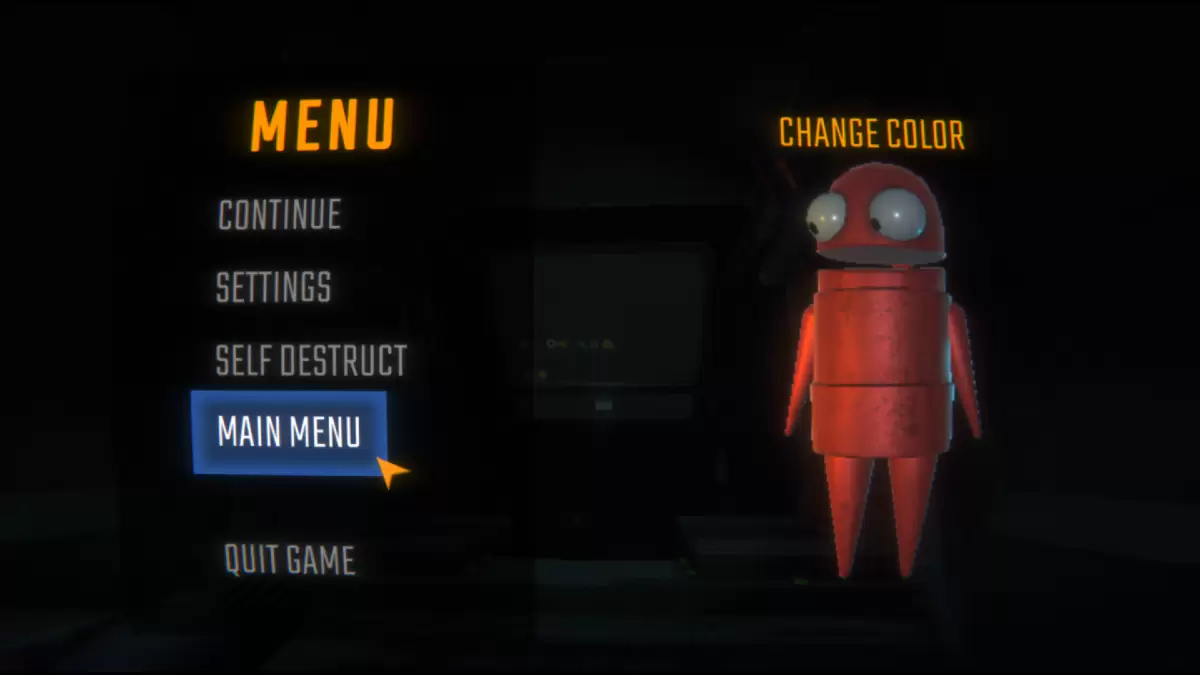
Покинув станцию ​​обслуживания, вы прибудете в следующее место. Именно в этот момент безопасно выйти в главное меню или покинуть игру. Когда вы или хост (если другой игрок создал исходный файл сохранения) перезагружает *Repo *, вы можете забрать прямо там, где остановились. Помните, что если вы играете в хостиненной игре, хост должен выйти в нужное время, чтобы гарантировать правильную экономию игры, после чего все остальные игроки будут отключены.

С помощью этого руководства вы теперь готовы эффективно сохранить свою игру в *Repo *. Для получения дополнительных советов и приемов, чтобы улучшить свой игровой процесс, не забудьте проверить другие наши * repo * Guides.

*Репо доступен на ПК.*

Предыдущая статья:Construction Simulator 4: мастер-строитель с Expert советами Следующая статья:Dying Light: The Beast – 5 Tips for Surviving Castor Woods | IGN First As Dying Light: The Beast dives deeper into the dark heart of Castor Woods, players are thrust into one of the most dangerous and atmospheric zones yet in the Dying Light universe. With new biome hazards, aggressive enemies, and a relentless threat that stalks you at night, surviving here demands more than just parkour and melee combat. Here are five essential tips to help you stay alive and thrive in Castor Woods: 1. Master the Terrain – Use the Forest to Your Advantage Castor Woods is dense, overgrown, and full of verticality. Unlike the open cityscapes of Harran, here the trees, collapsed buildings, and tangled undergrowth offer natural cover — but they also obscure your vision and can hide enemies. Stay on high ground when possible. Use rooftops, old watchtowers, and wooden platforms to scout ahead. Avoid open clearings at night. The Beast and other creatures move faster and are more aggressive in open areas. Use the environment to ambush: Drop down from trees to surprise enemies, or set traps in narrow pathways. 2. Know the Beast’s Patterns – Hunt It, Don’t Run From It The Beast isn’t just a random threat — it follows predictable hunting patterns. Learn them to survive. The Beast only emerges at night. Stay in safe zones (marked by flares or barricaded buildings) during darkness. It tracks sound and movement. Avoid running, clattering metal, or loud gunfire at night. Use noise to your advantage: Lure it into traps or narrow alleys, then take it down using environmental hazards like gas tanks or collapsing structures. 3. Stock Up on Upgrades and Medic Castor Woods is harsher than any zone before — your gear won’t last long if you’re not prepared. Always carry at least 3–4 med kits and 10+ adrenaline syringes. You’ll need them for stamina recovery during chases. Upgrade your weapons early: Use scavenged materials to improve your melee and ranged weapons. Focus on firearms that deal high damage to large, armored enemies. Keep your backpack light but efficient. Prioritize healing items, flares, and throwable gadgets (like flashbangs and smoke bombs). 4. Use Flares and Light Strategically Light is both a blessing and a curse in Castor Woods. Flares keep you safe from the Beast — but they also attract it. Use flares only when you’re in a secure location (e.g., inside a bunker or under a reinforced structure). Avoid carrying flares at night unless you’re ready to fight. Instead, rely on your flashlight and sound-based stealth. 5. Exploit the Day-Night Cycle for Tactical Advantage The weather and time of day affect enemy behavior and visibility. Daytime is your best time to explore and scavenge. Most enemies are slower and less aggressive. Nighttime is for survival and strategy. Use darkness to hide, but stay alert — the Beast hunts with precision. Plan your missions: Complete objectives during the day, then hole up in fortified areas to survive the night. Final Word: Castor Woods isn’t just another zone — it’s a living, breathing predator. Respect its dangers, master its rhythms, and use every tool at your disposal. With patience, preparation, and cunning, you can not only survive… but dominate the Beast. "In the woods, you don’t outrun the dark. You learn to walk through it." — Dying Light: The Beast – IGN First Stay sharp. Stay silent. And above all — stay alive.