This guide details how to install and utilize EmuDeck to play Sega Game Gear games on your Steam Deck, optimizing performance with Decky Loader and Power Tools.
Before You Begin: Essential Preparations
 Before installing EmuDeck, ensure you've completed these steps:
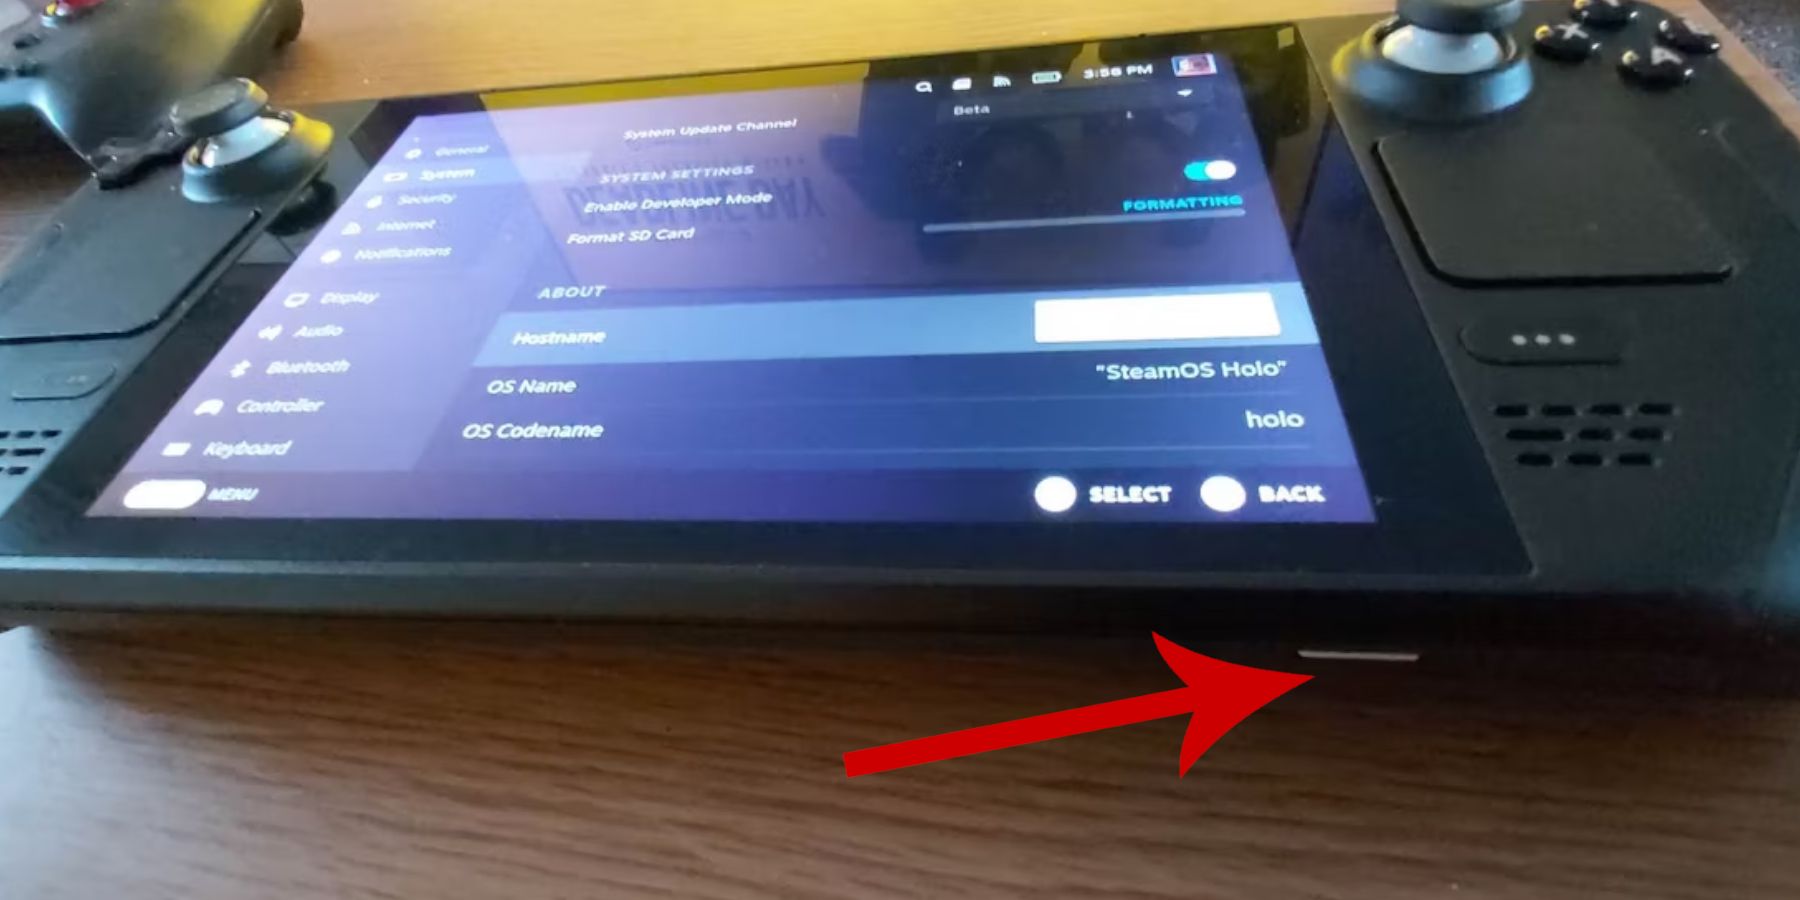
Enable Developer Mode: Navigate to Steam > System > System Settings > Enable Developer Mode. Then, within the Developer menu, enable CEF Remote Debugging. Restart your Steam Deck.
Recommended Equipment: An A2 microSD card (or external HDD connected via dock) for storing ROMs and emulators is highly recommended. A keyboard and mouse simplify file transfers and artwork management. Remember to legally obtain your Game Gear ROMs.
Installing EmuDeck
 Follow these steps to install EmuDeck:
- Switch to Desktop Mode (Steam button > Power > Switch to Desktop).
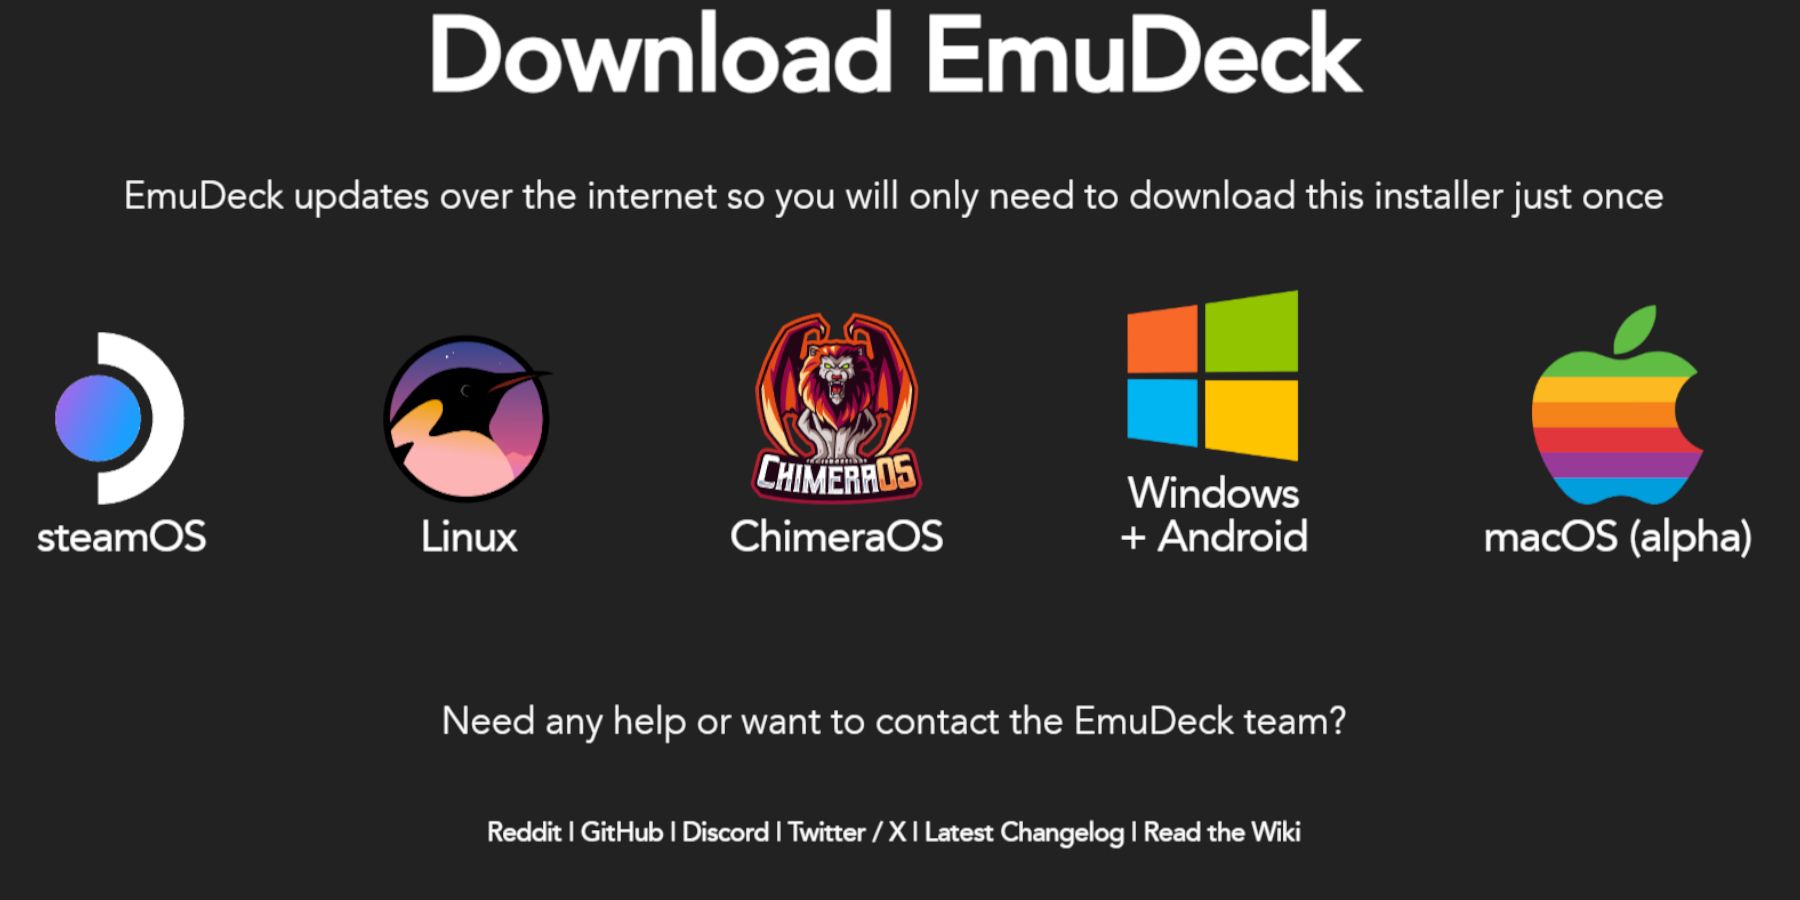
- Download EmuDeck from its official website.
- Select the SteamOS version and choose "Custom Install."
- Choose your microSD card as the installation drive ("Primary").
- Select desired emulators (RetroArch, Emulation Station, Steam ROM Manager are recommended). Enable "Auto Save."
- Complete the installation.
Quick EmuDeck Settings
Within EmuDeck, access Quick Settings and ensure:
- AutoSave is enabled.
- Controller Layout Match is enabled.
- Sega Classic AR is set to 4:3.
- LCD Handhelds is On.
Transferring ROMs and Using Steam ROM Manager
 Transfer your Game Gear ROMs to the
 /Emulation/ROMs/gamegear folder on your microSD card. Then:
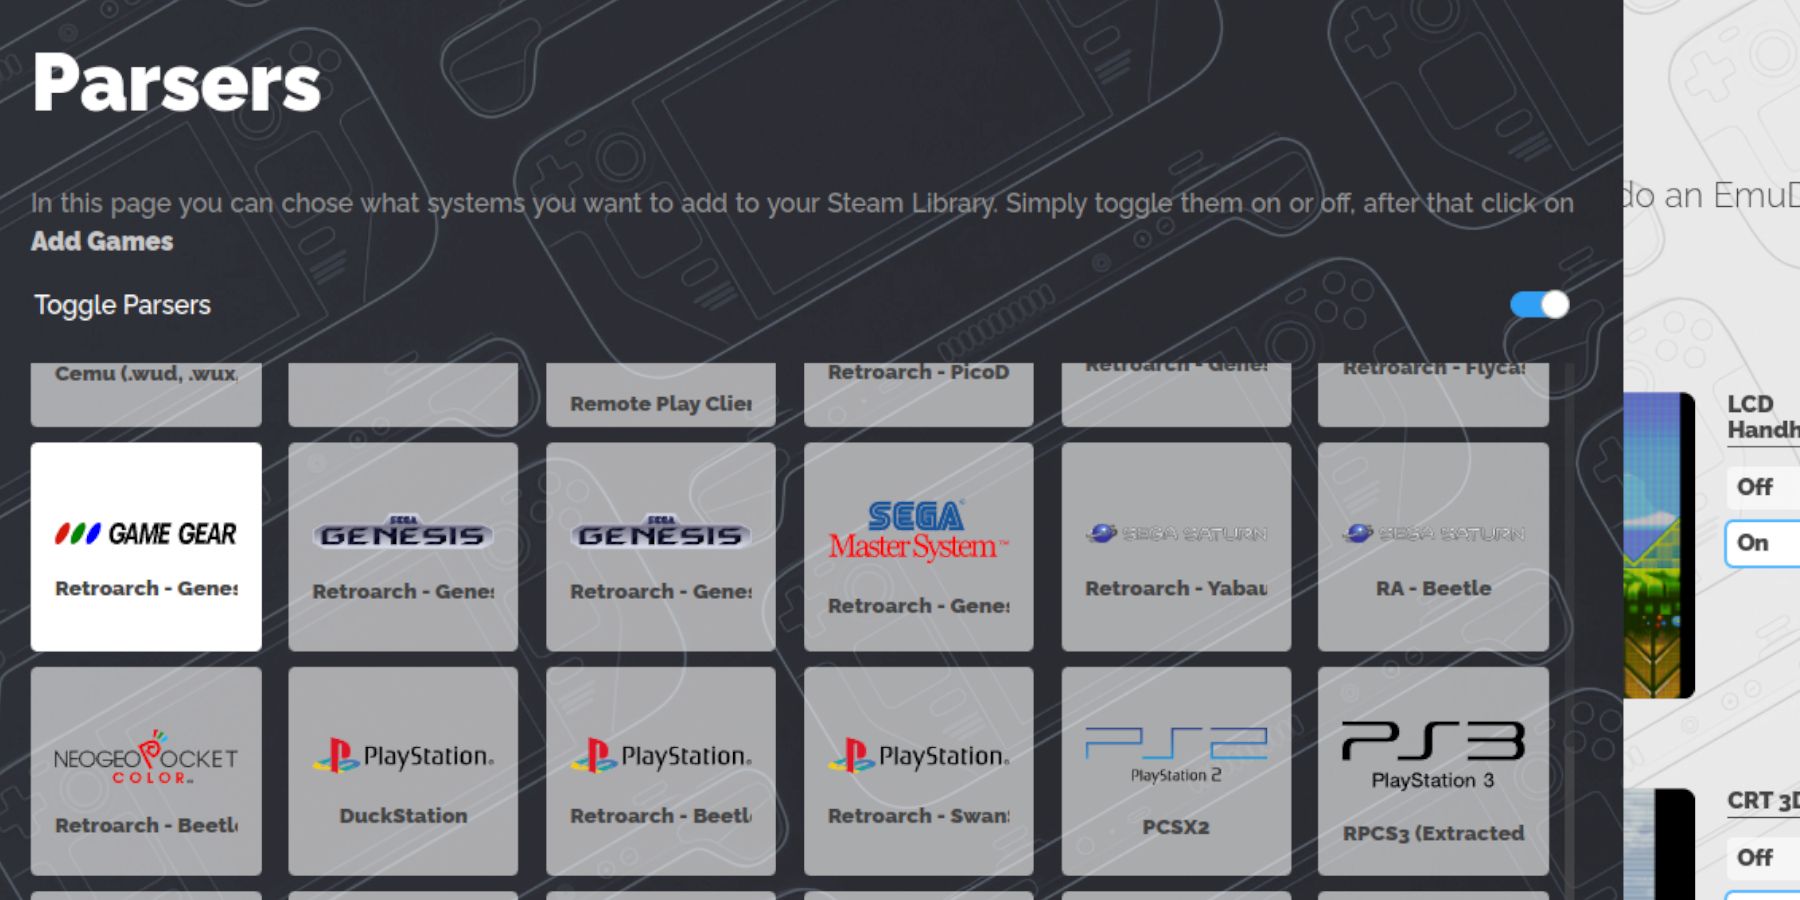
- Open EmuDeck and select Steam ROM Manager.
- Close the Steam Client when prompted.
- Select the Game Gear icon on the Parsers screen.
- Add your games and parse them.
- Review artwork and save to Steam.
Fixing Missing Artwork
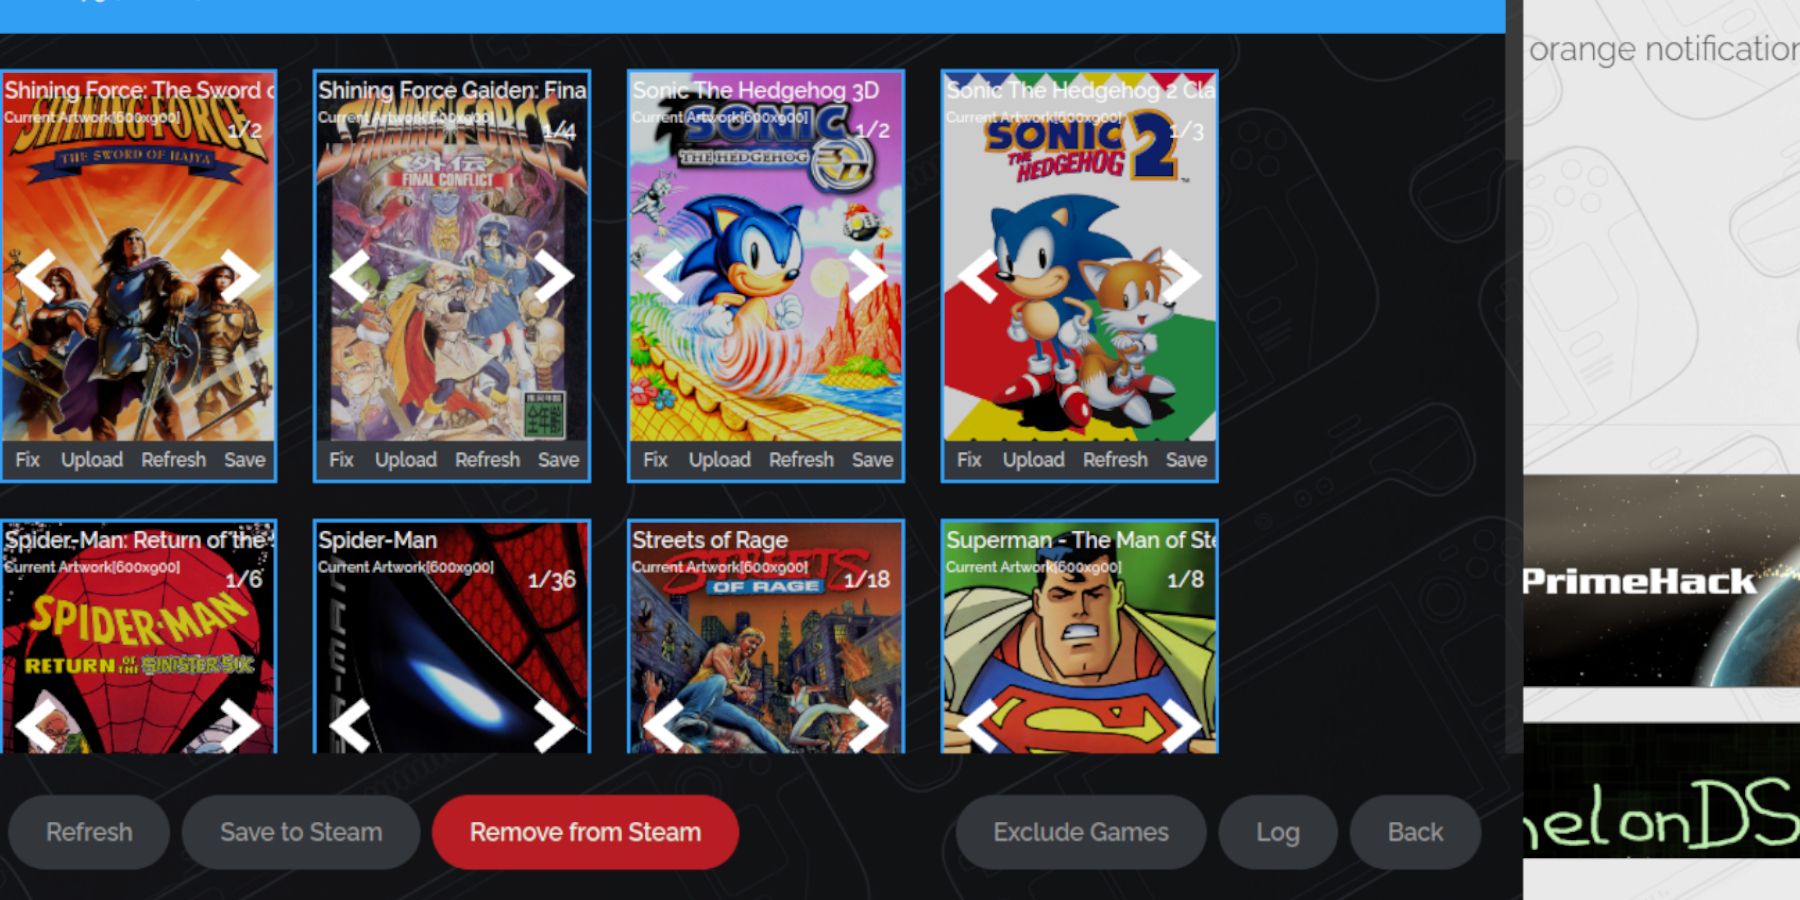 If artwork is missing or incorrect, use Steam ROM Manager's "Fix" function, searching by game title. Ensure ROM filenames don't include numbers before the title. Manually upload missing artwork via Desktop Mode, browsing for images and uploading them through Steam ROM Manager.
Playing Game Gear Games
- Switch to Gaming Mode.
- Access your Game Gear collection in the Steam Library (R1 button for Collections).
- Select a game and play.
Performance Optimization: In-game (QAS button), navigate to Performance and enable "Use per-game profile," setting the Frame Limit to 60 FPS to avoid slowdown.
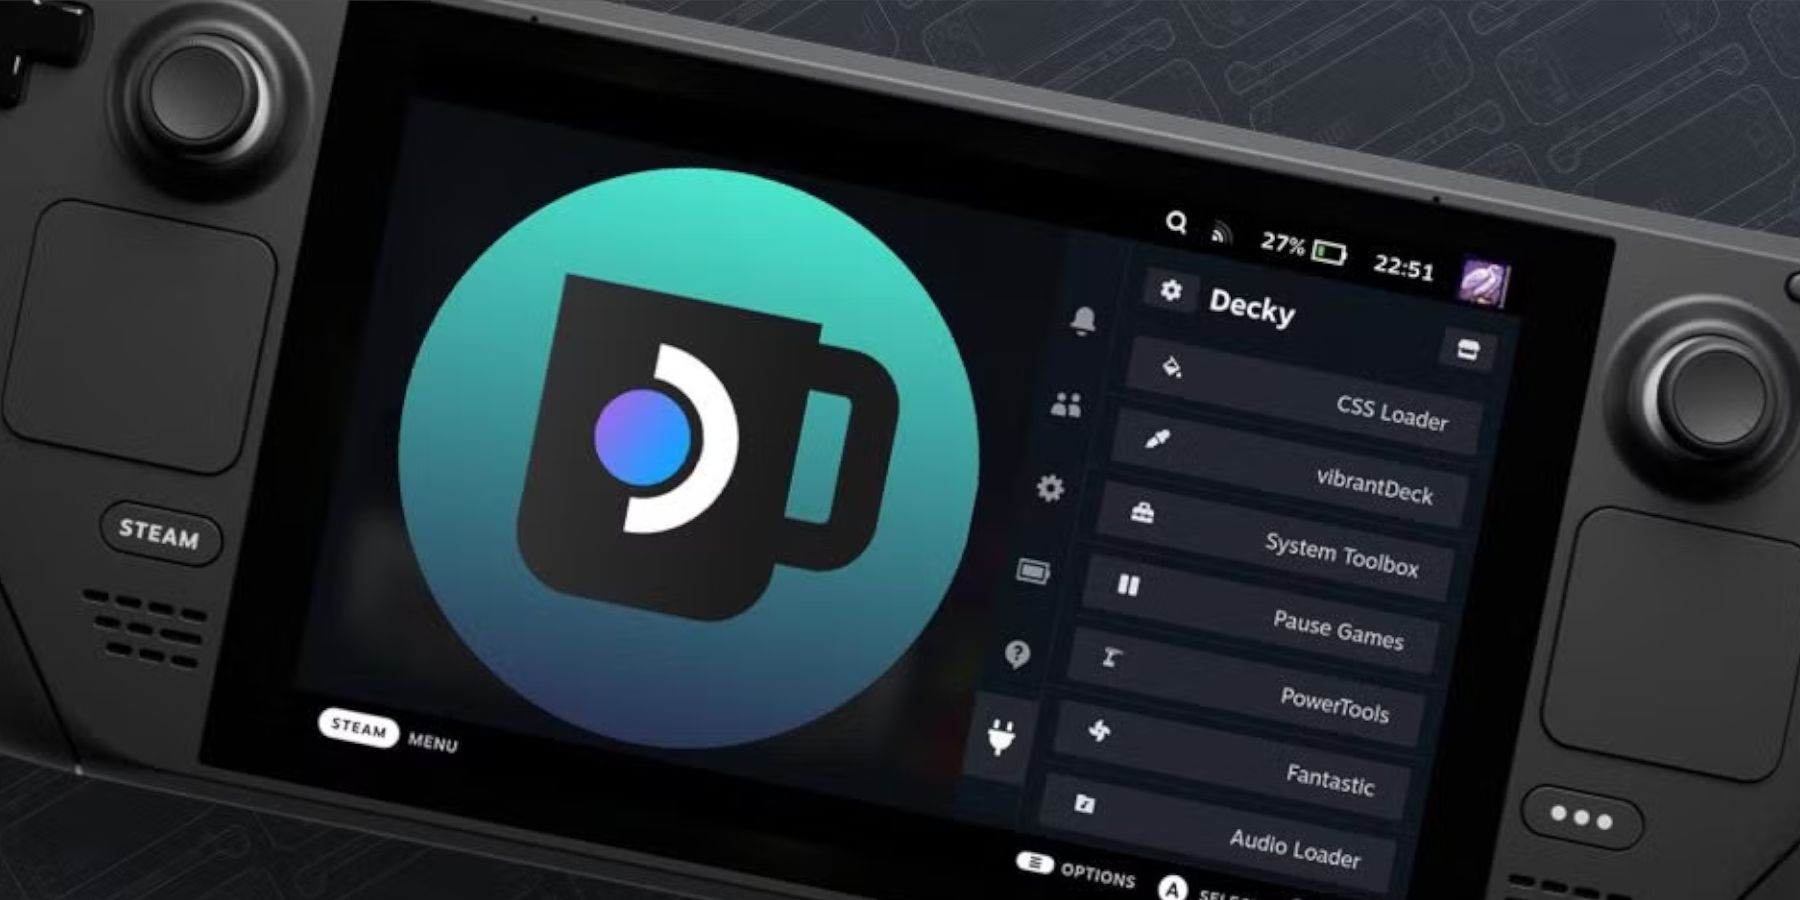
Installing Decky Loader and Power Tools
 For enhanced performance:
- Switch to Desktop Mode.
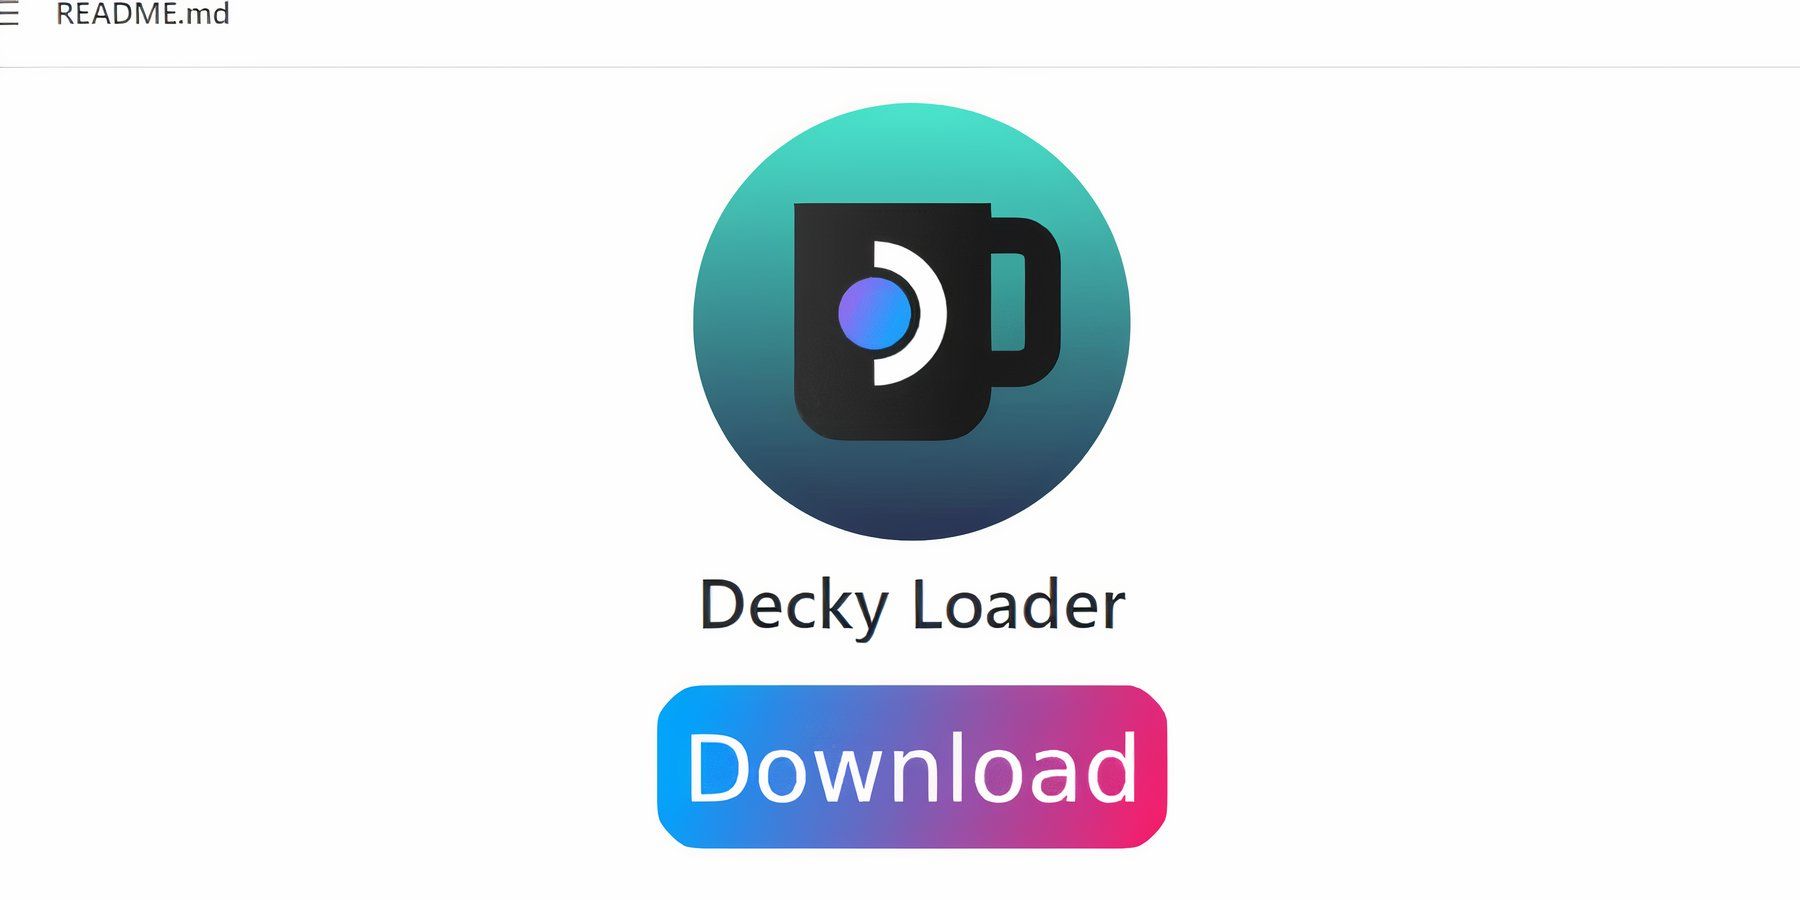
- Download Decky Loader from its GitHub page.
- Run the installer and choose "Recommended Install."
- Restart in Gaming Mode.
- Access Decky Loader's store (QAM button > Decky Loader icon > Store icon).
- Install the Power Tools plugin.
Configure Power Tools (QAM > Decky Loader > Power Tools): Disable SMTs, set Threads to 4, enable Manual GPU Clock Control (setting frequency to 1200), and enable Per Game Profile.
Fixing Decky Loader After a Steam Deck Update
 If Decky Loader disappears after an update:
- Switch to Desktop Mode.
- Download Decky Loader again.
- Run the installer, choosing "Execute" (not "Open").
- Enter your sudo password.
- Restart in Gaming Mode.
 Enjoy your Game Gear games on your Steam Deck!
 Latest Downloads
 Downlaod


 Top News