
Дом > Новости > Руководство по Quest Guide Stalker 2: «Во имя науки» раскрыта

Руководство по Quest Guide Stalker 2: «Во имя науки» раскрыта

By JoshuaFeb 06,2025

Сталкер 2: Сердце Чорнобила «во имя науки» побочный квест: Полное руководство

Следуя видению главной миссии истины и вызовов от доктора Шшербы, игроки отправляются на побочный квест «во имя науки» в Сталкере. Этот квест включает в себя местонахождение электронных воротников от различных мутантов, что приводит к критическому выбору, влияющему Результат.

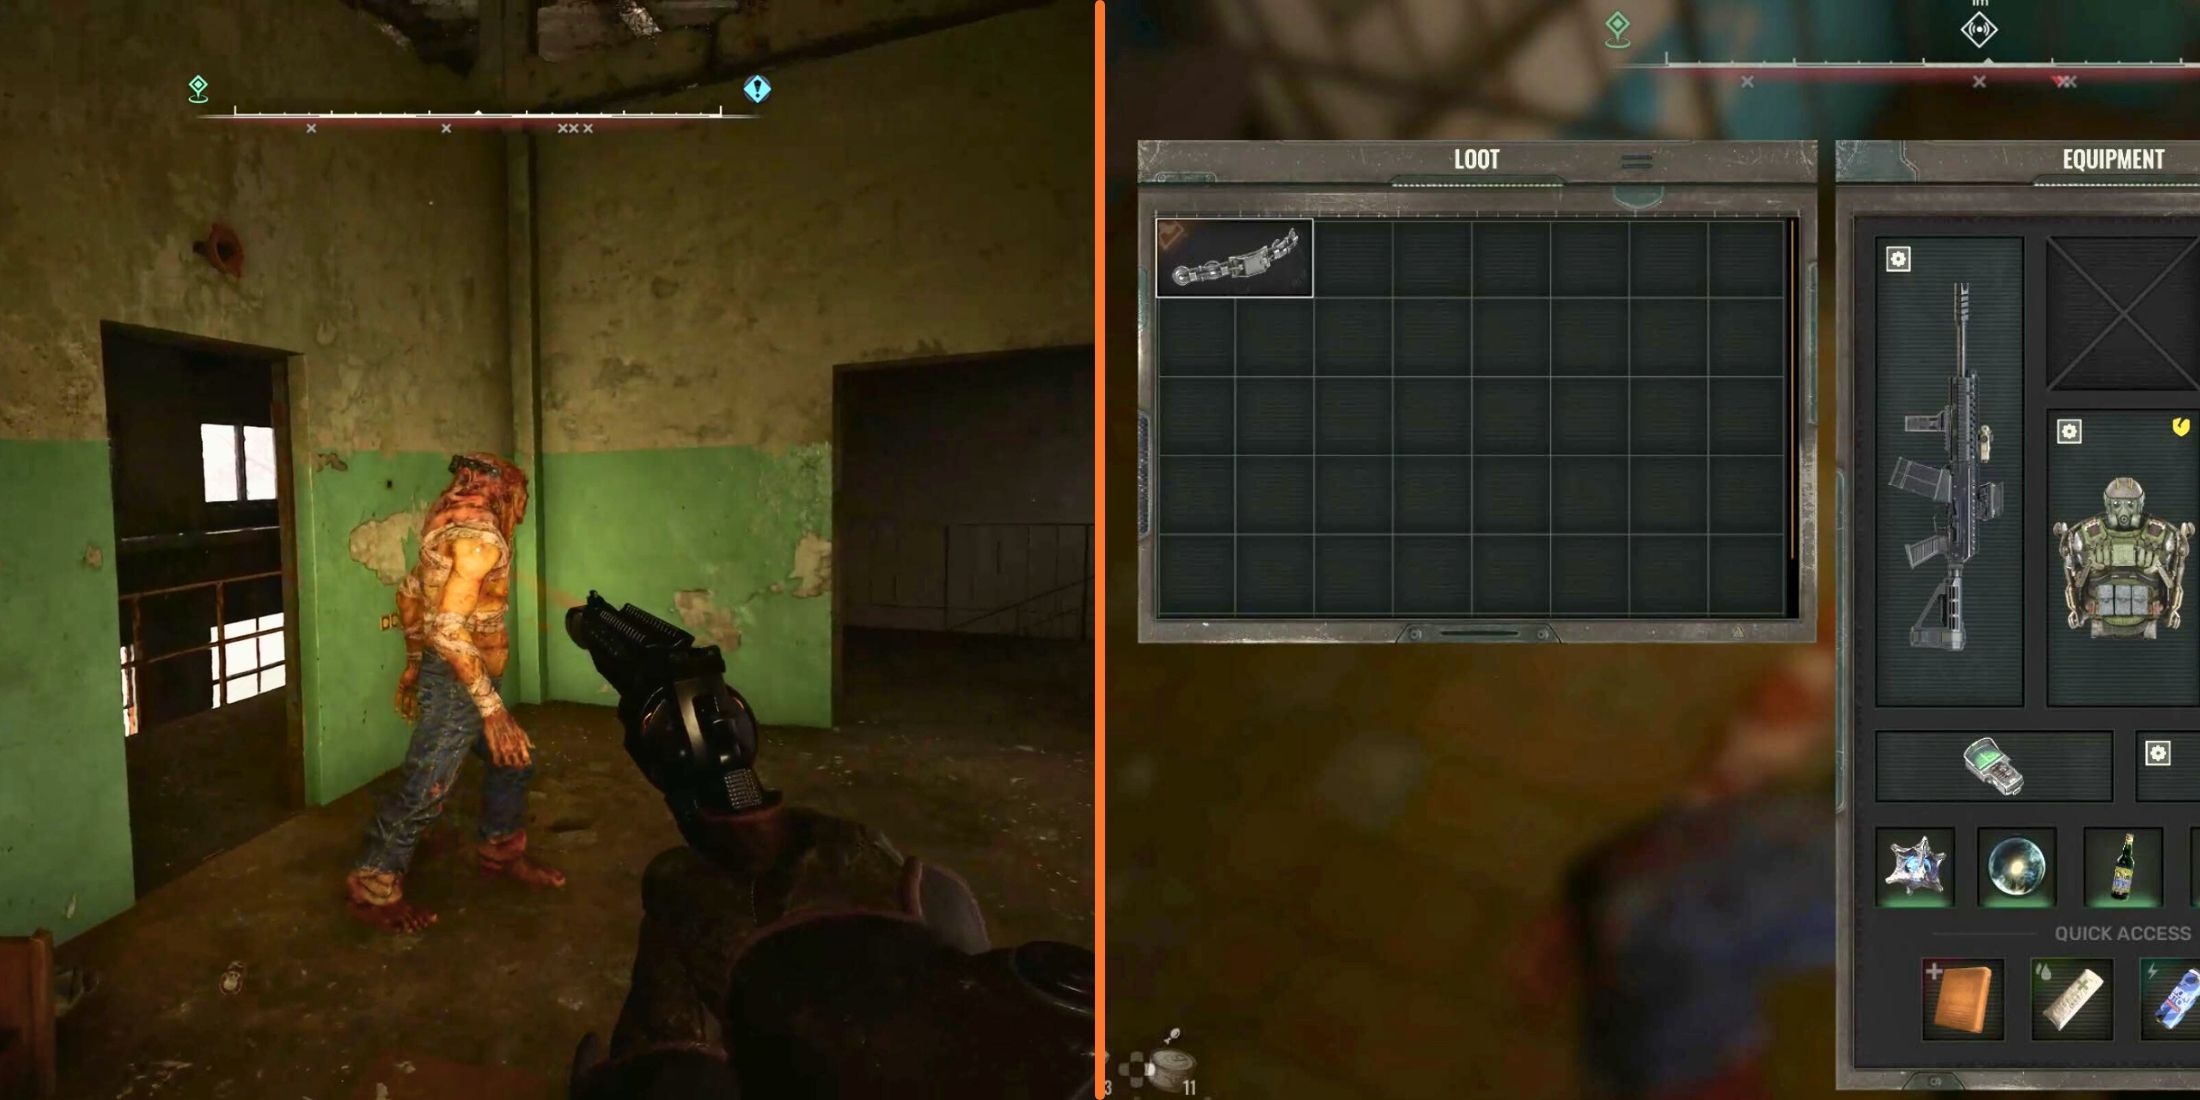
Набор электронных воротников

Эта миссия начинается с получения пяти электронных воротников из конкретных мест:

Region Collar Location Mutant Type
Garbage The Brood Snork
Wild Island Boathouse Psy Bayun
Zaton Hydrodynamics Lab Controller
Malachite Brain Scorcher Location Brain Scorcher
Red Forest Containers Pseudogiant

Collar Locations Map

Верните воротники в Шшербу на крыше на складе на химическом заводе. Если вы ранее собрали и продали воротники, квест может ошибаться. Используйте команду консоли "xendquestnodebysid e08_SQ01_S2_SetJournal_WaitforSherbacall_finish_pin_0", чтобы продолжить.

Устройство заклинивания: отключить или перекалибровать?

После доставки воротников Шшерба раскрывает сигнал, загрязняющий их функцию. Вы должны исследовать и выбирать между отключением или повторной калибровкой устройства, расположенного в хранении на холме.
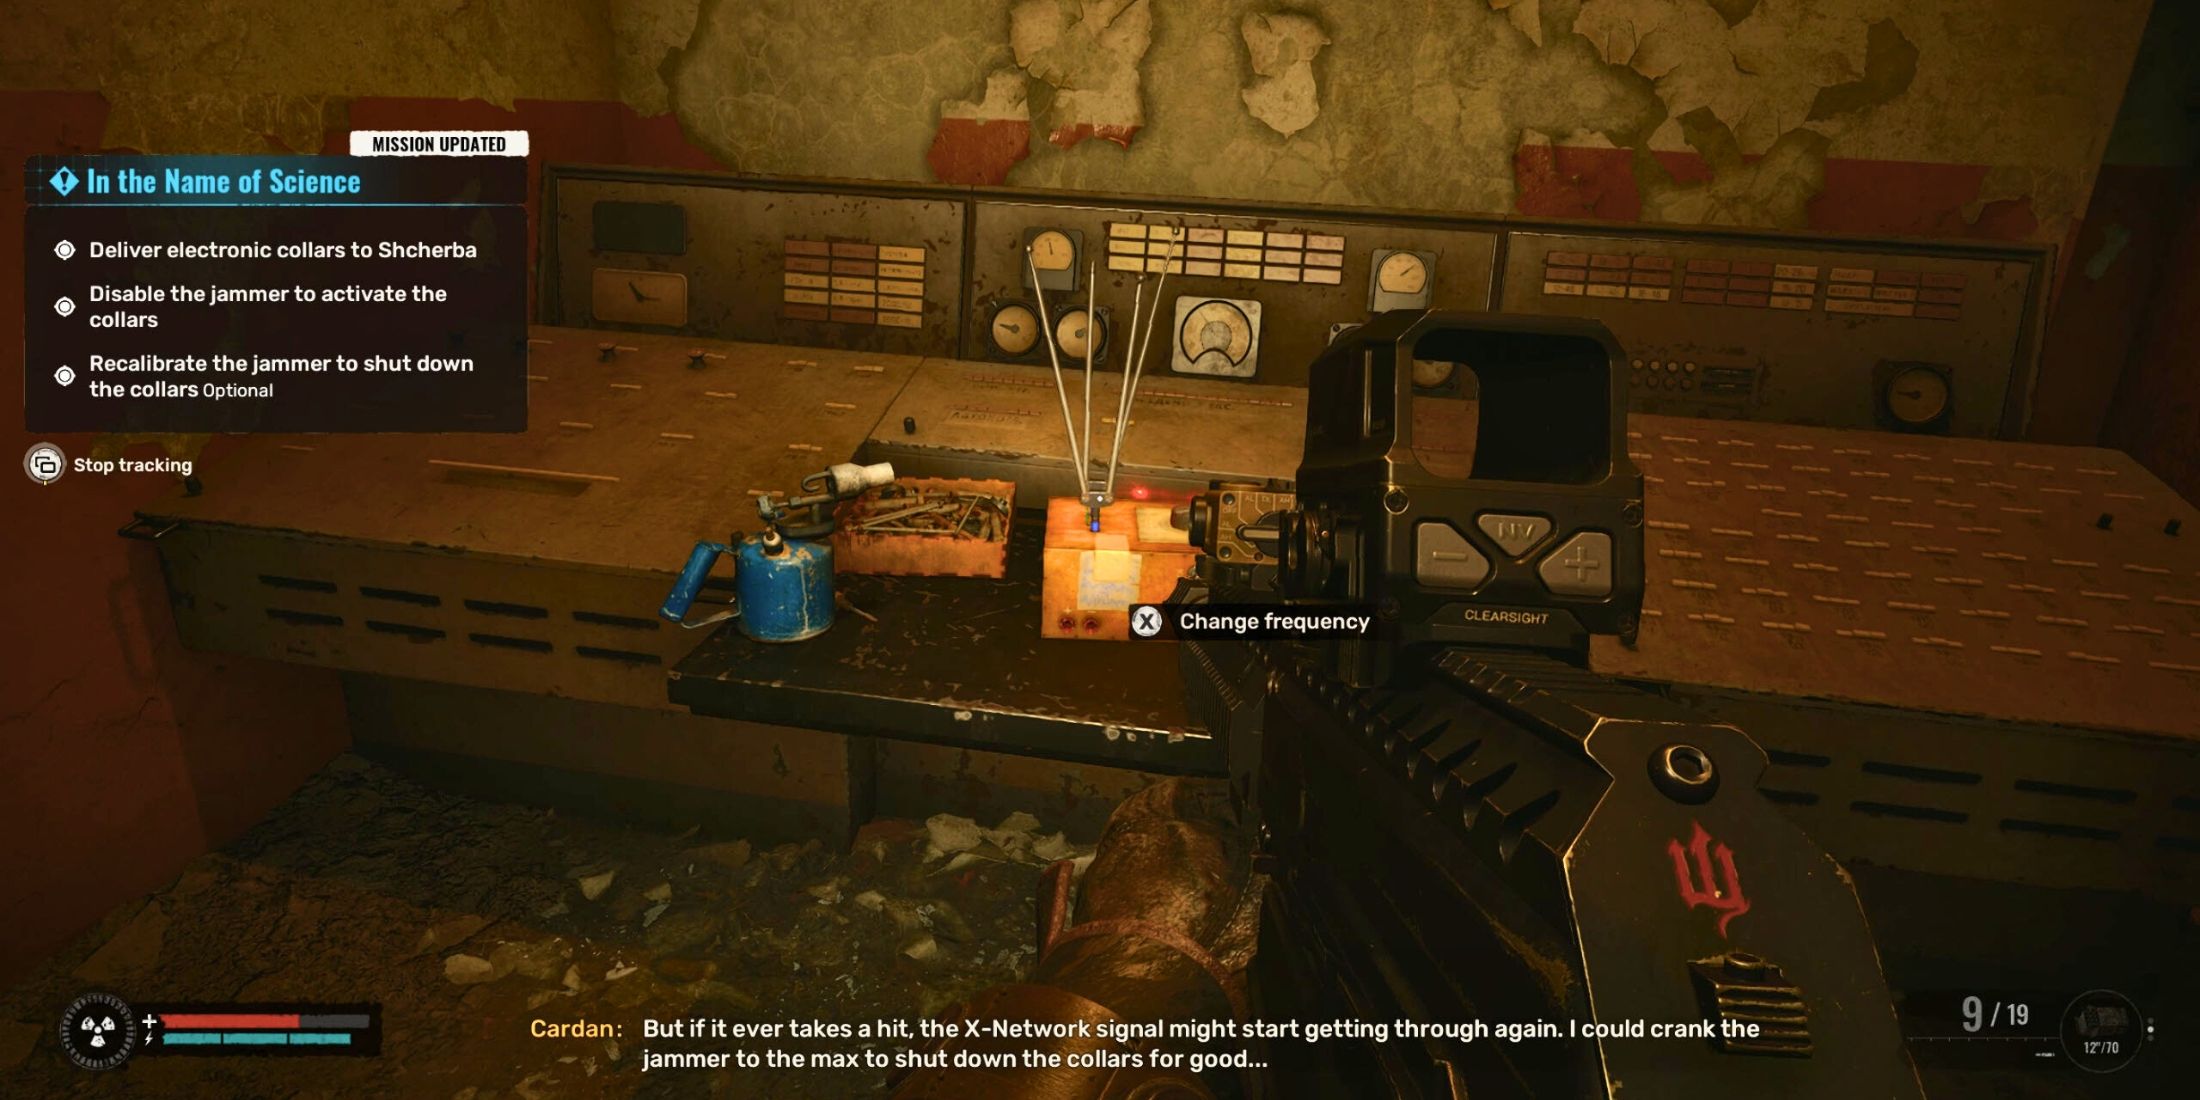
Jamming Device Location

  • Отключить/уничтожить шут (рекомендуется): Это продвигает квест, вознаграждает купоны и приводит к встрече Bloodsucker и дальнейшему выбору.
  • перекалибровать шут: Вознаграждайте купоны от Dvupalov и завершает квест.

Последнее противостояние: убить или запасной Шшерба?

Отключение Jammer приводит к тому, что Shcherba связывается с SKIF, отправляя купоны и обещает будущую помощь. Цель меняется на «ждать вашей награды от Шшербы». Прогресс можно ускорить с помощью команды консоли "xstartquestnodebysid e08_sq01_s3_technical_sherbainvitedtolab."

Последующий вызов Шшербы приводит к ловушке, экспозиции PSI-Radiation и конфронтации. Выпивка магической водки, предоставленная Dvupalov, отрицает радиационные эффекты. Побег из комнаты, устранение трех кровью и противостоять Шшербе.

Выбор за вами: убей Шшербу или отпусти его. Оба приносят одни и те же награды (пистолет Гаусса и трофей «на поводке»), но щадясь Шшерба поддерживает положительные отношения с учеными.

Предыдущая статья:Construction Simulator 4: мастер-строитель с Expert советами Следующая статья:Dying Light: The Beast – 5 Tips for Surviving Castor Woods | IGN First As Dying Light: The Beast dives deeper into the dark heart of Castor Woods, players are thrust into one of the most dangerous and atmospheric zones yet in the Dying Light universe. With new biome hazards, aggressive enemies, and a relentless threat that stalks you at night, surviving here demands more than just parkour and melee combat. Here are five essential tips to help you stay alive and thrive in Castor Woods: 1. Master the Terrain – Use the Forest to Your Advantage Castor Woods is dense, overgrown, and full of verticality. Unlike the open cityscapes of Harran, here the trees, collapsed buildings, and tangled undergrowth offer natural cover — but they also obscure your vision and can hide enemies. Stay on high ground when possible. Use rooftops, old watchtowers, and wooden platforms to scout ahead. Avoid open clearings at night. The Beast and other creatures move faster and are more aggressive in open areas. Use the environment to ambush: Drop down from trees to surprise enemies, or set traps in narrow pathways. 2. Know the Beast’s Patterns – Hunt It, Don’t Run From It The Beast isn’t just a random threat — it follows predictable hunting patterns. Learn them to survive. The Beast only emerges at night. Stay in safe zones (marked by flares or barricaded buildings) during darkness. It tracks sound and movement. Avoid running, clattering metal, or loud gunfire at night. Use noise to your advantage: Lure it into traps or narrow alleys, then take it down using environmental hazards like gas tanks or collapsing structures. 3. Stock Up on Upgrades and Medic Castor Woods is harsher than any zone before — your gear won’t last long if you’re not prepared. Always carry at least 3–4 med kits and 10+ adrenaline syringes. You’ll need them for stamina recovery during chases. Upgrade your weapons early: Use scavenged materials to improve your melee and ranged weapons. Focus on firearms that deal high damage to large, armored enemies. Keep your backpack light but efficient. Prioritize healing items, flares, and throwable gadgets (like flashbangs and smoke bombs). 4. Use Flares and Light Strategically Light is both a blessing and a curse in Castor Woods. Flares keep you safe from the Beast — but they also attract it. Use flares only when you’re in a secure location (e.g., inside a bunker or under a reinforced structure). Avoid carrying flares at night unless you’re ready to fight. Instead, rely on your flashlight and sound-based stealth. 5. Exploit the Day-Night Cycle for Tactical Advantage The weather and time of day affect enemy behavior and visibility. Daytime is your best time to explore and scavenge. Most enemies are slower and less aggressive. Nighttime is for survival and strategy. Use darkness to hide, but stay alert — the Beast hunts with precision. Plan your missions: Complete objectives during the day, then hole up in fortified areas to survive the night. Final Word: Castor Woods isn’t just another zone — it’s a living, breathing predator. Respect its dangers, master its rhythms, and use every tool at your disposal. With patience, preparation, and cunning, you can not only survive… but dominate the Beast. "In the woods, you don’t outrun the dark. You learn to walk through it." — Dying Light: The Beast – IGN First Stay sharp. Stay silent. And above all — stay alive.